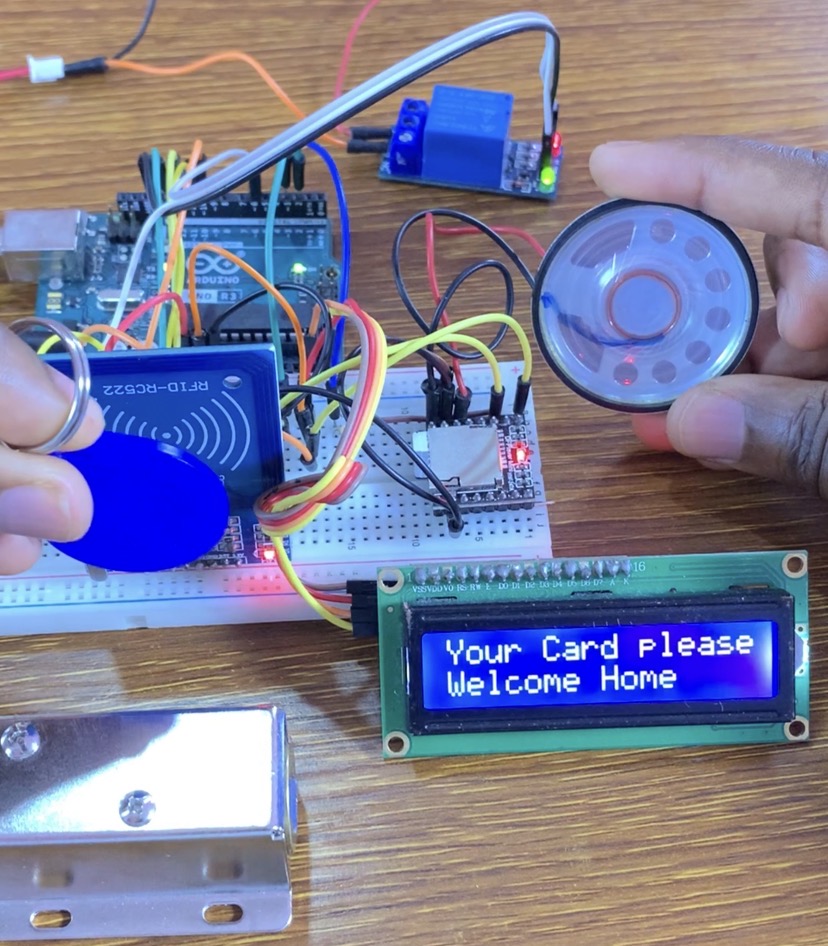

RFID Voice-Guided Smart Door Lock System with Arduino Uno
An automatic RFID door lock system that offers real-time voice instruction and visual feedback can improve your home’s security. This project, which is based on an Arduino Uno, RC522 RFID reader, DFPlayer Mini, and 16×2 I2C LCD display, verifies permitted access cards, initiates personalized MP3 voice prompts, and activates a 12V solenoid lock.
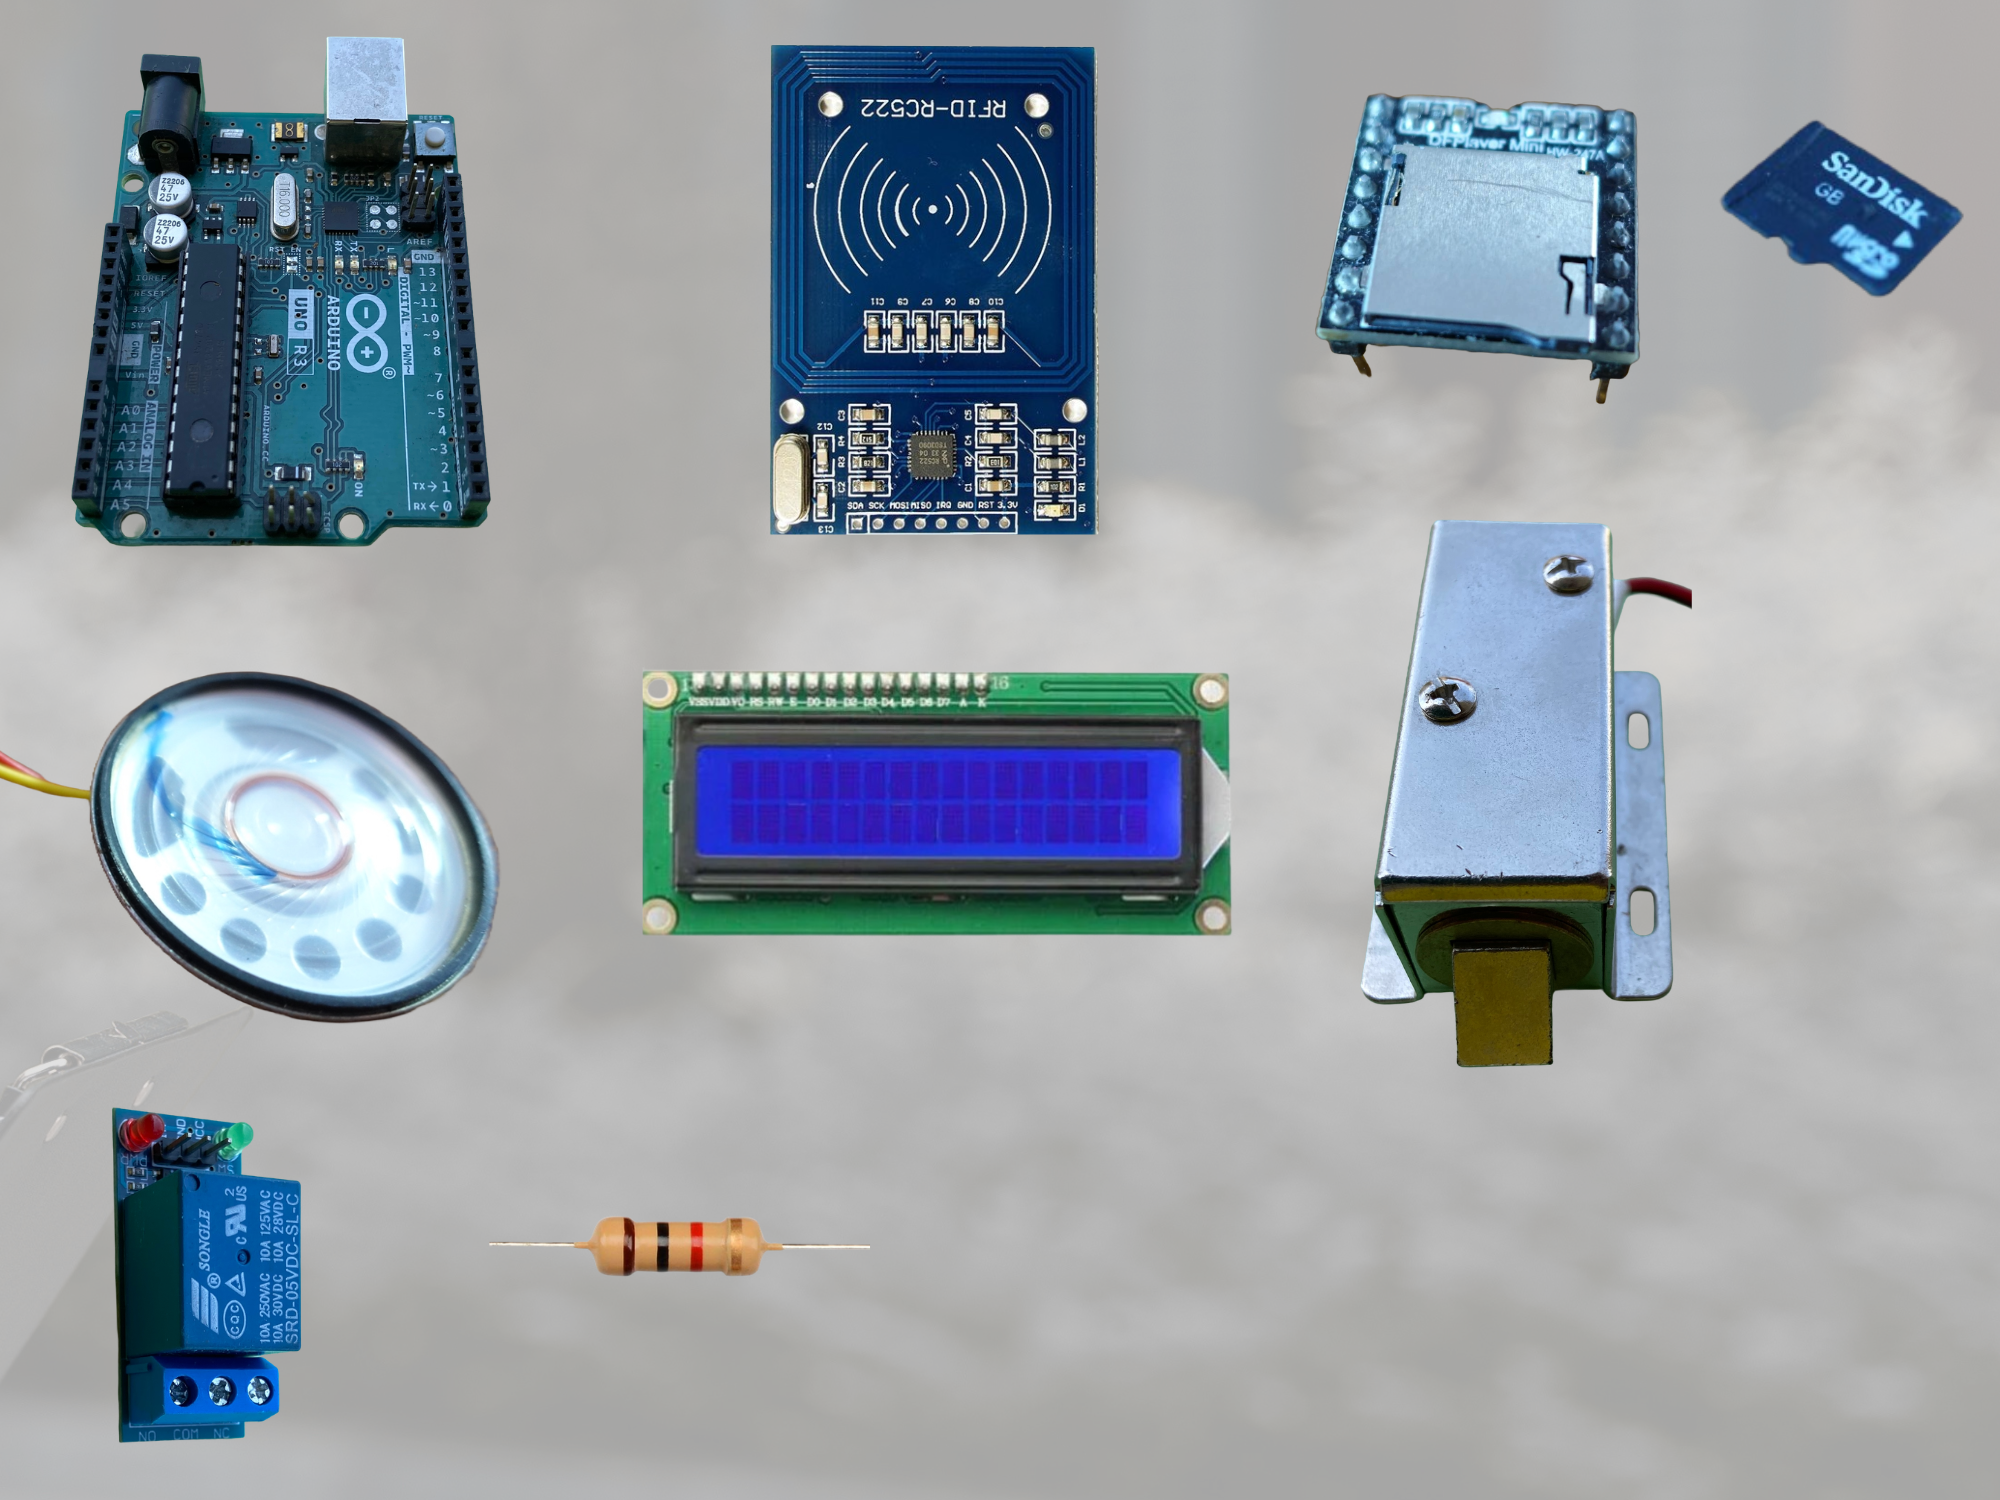
Components Used
- Microcontroller: Arduino Uno
- RFID Reader: MFRC522 13.56 MHz RFID Module + 13.56MHz RFID Card/Keyfob
- Audio Player: DFPlayer Mini MP3 Module + MicroSD Card (Formatted FAT32)
- Speaker: 20Ω 1W Speaker
- Display: 16×2 LCD Display with PCF8574 I2C Module
- Actuator: 12V DC Solenoid Door Lock
- Lock Driver: 5V Relay Module (Active-LOW)
- Resistor: 1kΩ Resistor (installed inline on the DFPlayer RX pin to protect the module)
- Power Supply: External 12V DC Power Supply (for Solenoid) & 5V USB/DC Power Supply (for Arduino)
- Prototyping: Breadboard & Jumper Wires
Circuit Wiring & Schematic Description
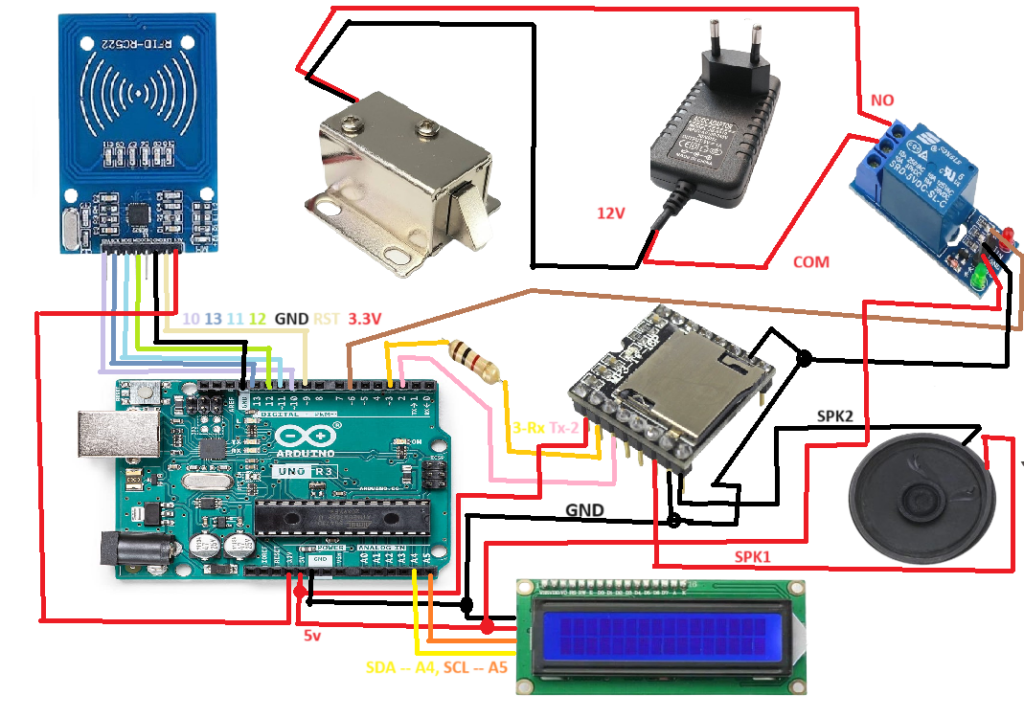
| Arduino | MFRC522 RFID Reader (SPI Interface): | DFPlayer Mini Audio Module | Speaker | 16×2 I2C LCD Display | 5V Relay Module | 12VDC Power Supply | 12V Solenoid Lock | 1K resistor |
| 3.3V | VCC | |||||||
| Pin 9 | RST | |||||||
| GND | GND | |||||||
| – | IRQ | |||||||
| Pin 12 | MISO | |||||||
| Pin 11 | MOSI | |||||||
| Pin 13 | SCK | |||||||
| Pin 10 | SDA (SS) | |||||||
| 5V | VCC | |||||||
| GND | GND | |||||||
| Pin 2 (Arduino RX) | TX | |||||||
| Pin 3 | RX | |||||||
| RX | one leg | |||||||
| Pin 3 | other leg | |||||||
| SPK1 | + | |||||||
| SPK2 | – | |||||||
| 5V | VCC | |||||||
| GND | GND | |||||||
| Pin A4 | SDA | |||||||
| Pin A5 | SCL | |||||||
| 5V | VCC | |||||||
| GND | GND | |||||||
| Pin 6 | IN | |||||||
| COM | + | |||||||
| NO | + | |||||||
| – | – |
Configuring SD Card Audio Files: Make a folder called mp3 on your MicroSD card and put two audio files in it:
0001.mp3: Welcome greeting audio (e.g., “Welcome Home, access granted”).0002.mp3: Alert audio (e.g., “Access denied, wrong identification”).
Required Libraries
Use the Arduino IDE Library Manager (Sketch → Include Library → Manage Libraries) to install these libraries.
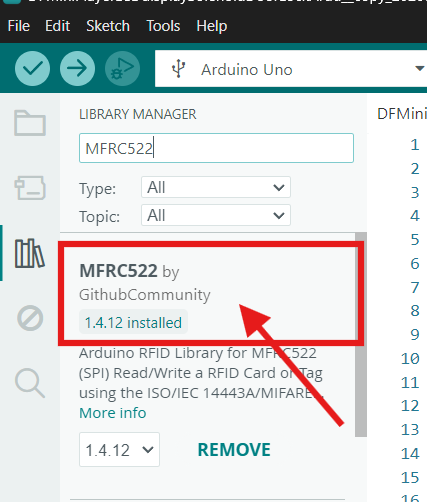
MFRC522 library
Purpose: Reads RFID cards/tags via SPI protocol
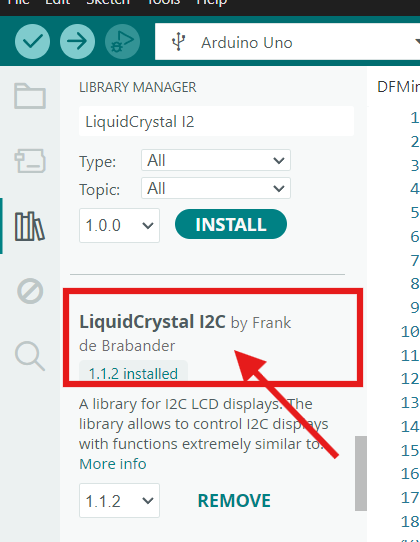
LiquidCrystal I2C library
Purpose: Drives the 16×2 LCD display over I2C
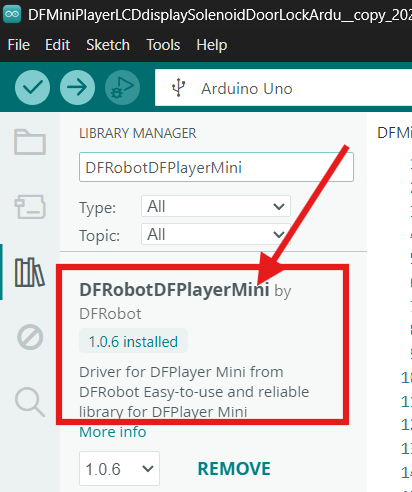
DFRobotDFPlayerMini
Purpose: Controls audio playback from the DFPlayer Mini
Complete Arduino Code
#include <SPI.h>
#include <MFRC522.h>
#include <Wire.h>
#include <LiquidCrystal_I2C.h>
#include "SoftwareSerial.h"         // Include the SoftwareSerial library for serial communication
#include "DFRobotDFPlayerMini.h"    // Include the DFRobotDFPlayerMini library for the DFPlayer Mini module

#define RST_PIN         9           // Configurable RFID Reset Pin
#define SS_PIN          10          // Configurable RFID SS/SDA Pin
#define Solenoid        6           // Solenoid Relay Pin

MFRC522 mfrc522(SS_PIN, RST_PIN);   // Create MFRC522 instance
LiquidCrystal_I2C lcd(0x27, 16, 2); // I2C LCD address 0x27 (16 cols, 2 rows)

SoftwareSerial mySoftwareSerial(2, 3); // RX = Pin 2, TX = Pin 3
DFRobotDFPlayerMini myDFPlayer;        // Create a DFPlayerMini object

// Target RFID Card UID array
byte targetUID[] = {0x0B, 0x23, 0x9B, 0x15};
unsigned long displayMessageStartTime = 0;
unsigned long solenoidOpenTime = 0;
bool messageDisplayed = false;
bool solenoidOpened = false;

void setup() {
  pinMode(Solenoid, OUTPUT);
  digitalWrite(Solenoid, HIGH);     // Keep solenoid closed initially (Active-LOW relay OFF)

  mySoftwareSerial.begin(9600);     // Software serial baud rate for DFPlayer
  Serial.begin(115200);             // PC Serial monitor baud rate

  SPI.begin();                      // Init SPI bus
  mfrc522.PCD_Init();               // Init MFRC522 RFID reader

  lcd.init();                       // Initialize LCD
  lcd.backlight();                  // Turn on LCD backlight
  lcd.setCursor(0, 0);
  lcd.print("Your Card please");

  if (!myDFPlayer.begin(mySoftwareSerial)) { // Initialize DFPlayer Mini
    Serial.println(F("Not initialized:"));
    Serial.println(F("1. Check the DFPlayer Mini connections"));
    Serial.println(F("2. Insert an SD card"));
    while (true); // Halt execution if initialization fails
  }

  Serial.println();
  Serial.println(F("DFPlayer Mini module initialized!"));
  myDFPlayer.setTimeOut(500);       // Set communication timeout
  myDFPlayer.volume(30);            // Set volume level (0 to 30)
  myDFPlayer.EQ(0);                 // Set Equalizer (0: Normal)
}

void loop() {
  // Check if a new card is present on the reader
  if (!mfrc522.PICC_IsNewCardPresent()) {
    checkMessageTimeout();
    checkSolenoidTimeout();
    return;
  }

  // Select one of the cards
  if (!mfrc522.PICC_ReadCardSerial()) {
    checkMessageTimeout();
    checkSolenoidTimeout();
    return;
  }

  Serial.println(F("**Card Detected:**"));

  // Verify if detected card UID matches the authorized target UID
  if (mfrc522.uid.size == sizeof(targetUID) && memcmp(mfrc522.uid.uidByte, targetUID, sizeof(targetUID)) == 0) {
    myDFPlayer.play(1);             // Play track 0001.mp3 (Welcome)
    digitalWrite(Solenoid, LOW);    // Energize relay to unlock door
    solenoidOpenTime = millis();    // Record unlock timestamp
    solenoidOpened = true;

    Serial.println("Good");
    lcd.setCursor(0, 1);
    lcd.print("Welcome Home    ");
  } else {
    myDFPlayer.play(2);             // Play track 0002.mp3 (Access Denied)
    Serial.println("Wrong");
    lcd.setCursor(0, 1);
    lcd.print("Wrong identification");
  }

  displayMessageStartTime = millis();
  messageDisplayed = true;

  mfrc522.PICC_HaltA();             // Halt PICC
  mfrc522.PCD_StopCrypto1();        // Stop encryption on PCD
}

void checkMessageTimeout() {
  // Clear status message on second row after 2 seconds
  if (messageDisplayed && millis() - displayMessageStartTime >= 2000) {
    lcd.setCursor(0, 1);
    lcd.print("                ");
    messageDisplayed = false;
  }
}

void checkSolenoidTimeout() {
  // Auto-lock door by driving pin HIGH after 3 seconds
  if (solenoidOpened && millis() - solenoidOpenTime >= 3000) {
    digitalWrite(Solenoid, HIGH);   // Relock door
    solenoidOpened = false;
  }
}
How it works
When an authorized RFID card is scanned, the Arduino triggers the DFPlayer to play a welcome voice message, displays “Welcome Home” on the LCD, and energizes the relay to unlock the solenoid door for 3 seconds.
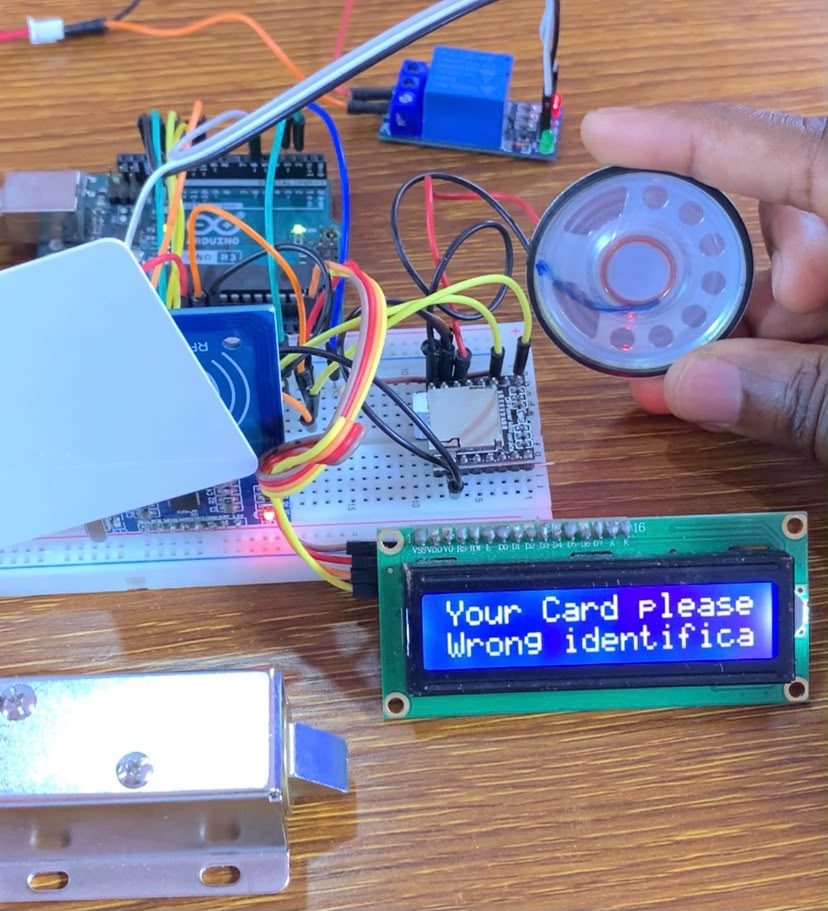
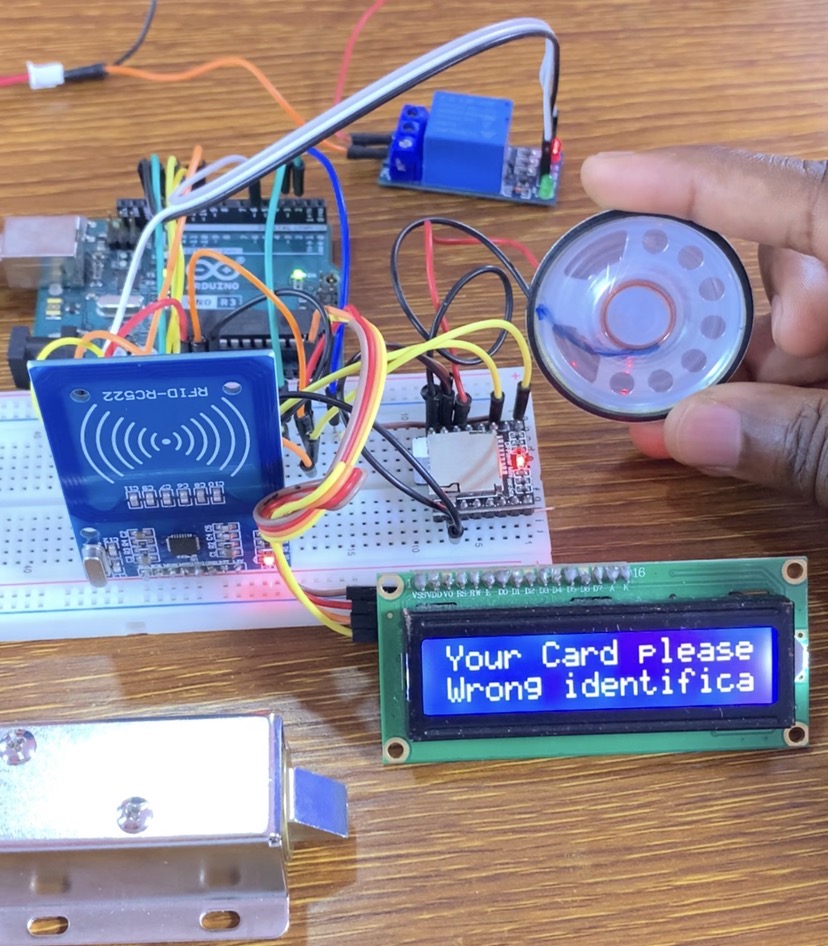
When an unauthorized card is scanned, the system plays an access-denied audio alert, displays “Wrong identification” on the screen, and keeps the solenoid door lock securely closed.