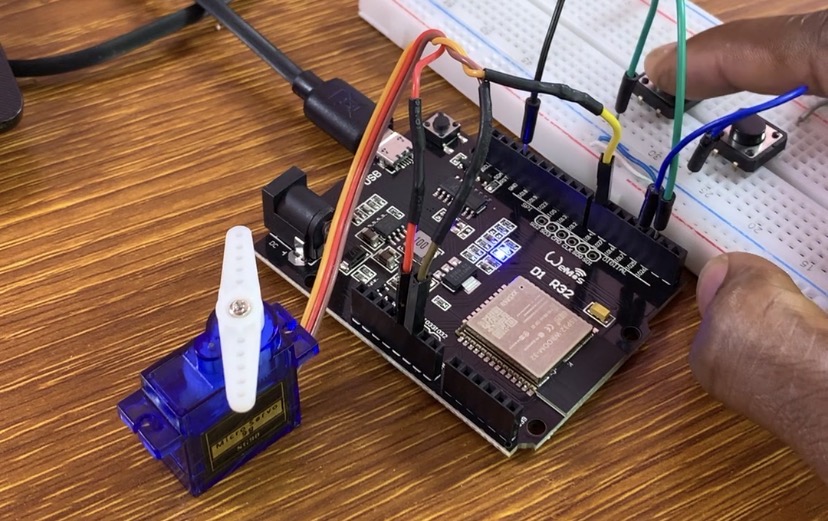

Precision Dual-Button Servo Angle Controller with WeMos D1 R32 and SG90
Take charge of your automation and robotics projects with your hands! In this lesson, an SG90 micro servo motor will be controlled by a WeMos D1 R32 board, which is an Uno-shaped ESP32 microcontroller. We can precisely step the servo angle up or down in 30° increments throughout its whole 0° to 180° range by using two tactile pushbuttons with non-blocking software debouncing.
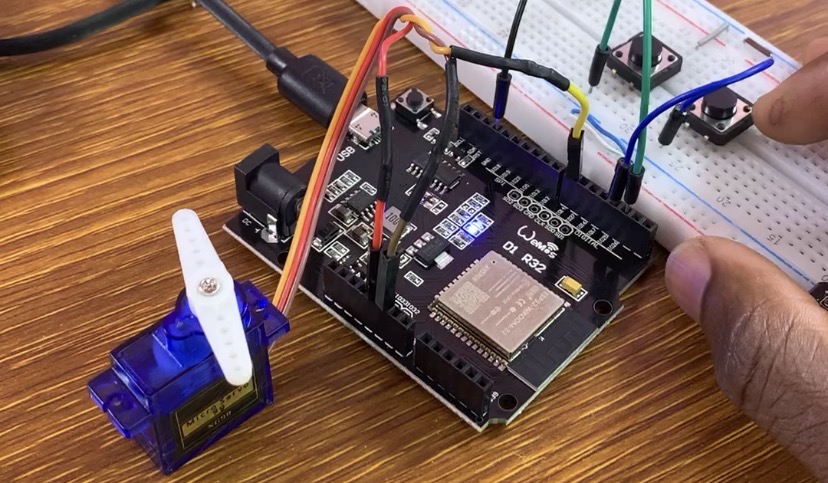
Hardware Circuit Wiring & Pinout Connections
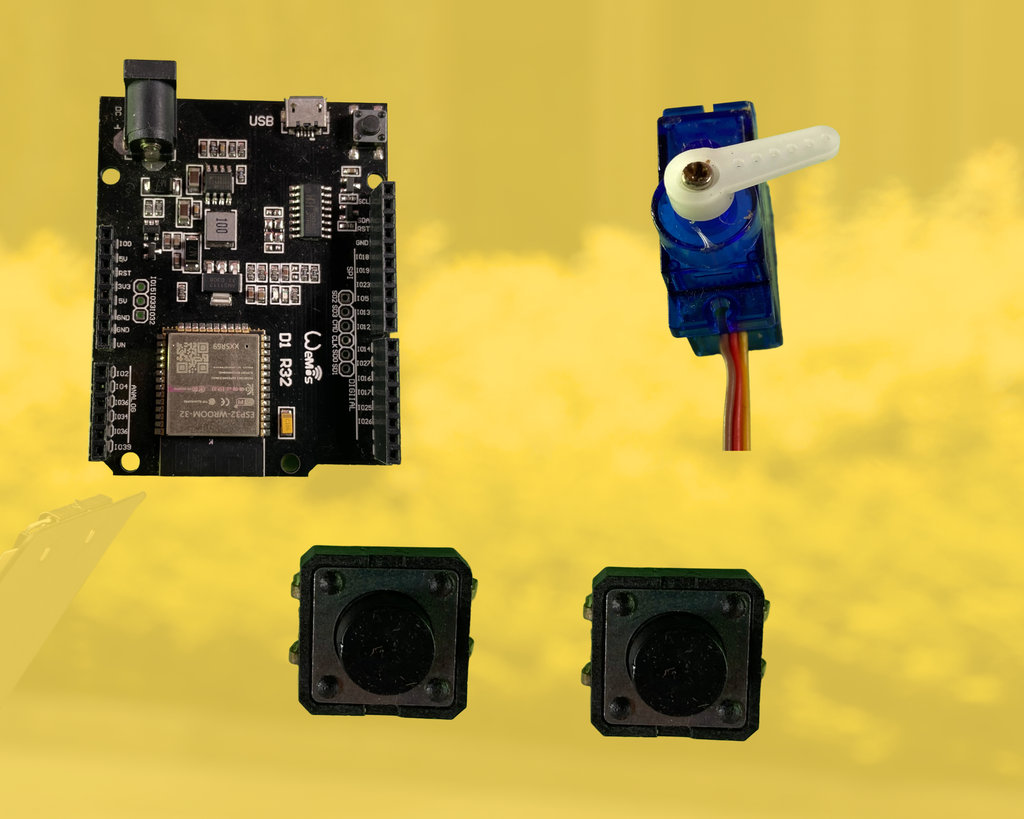
Components Used
- Microcontroller: WeMos D1 R32
- SG90 Micro Servo Motor
- 2x Tactile Pushbuttons
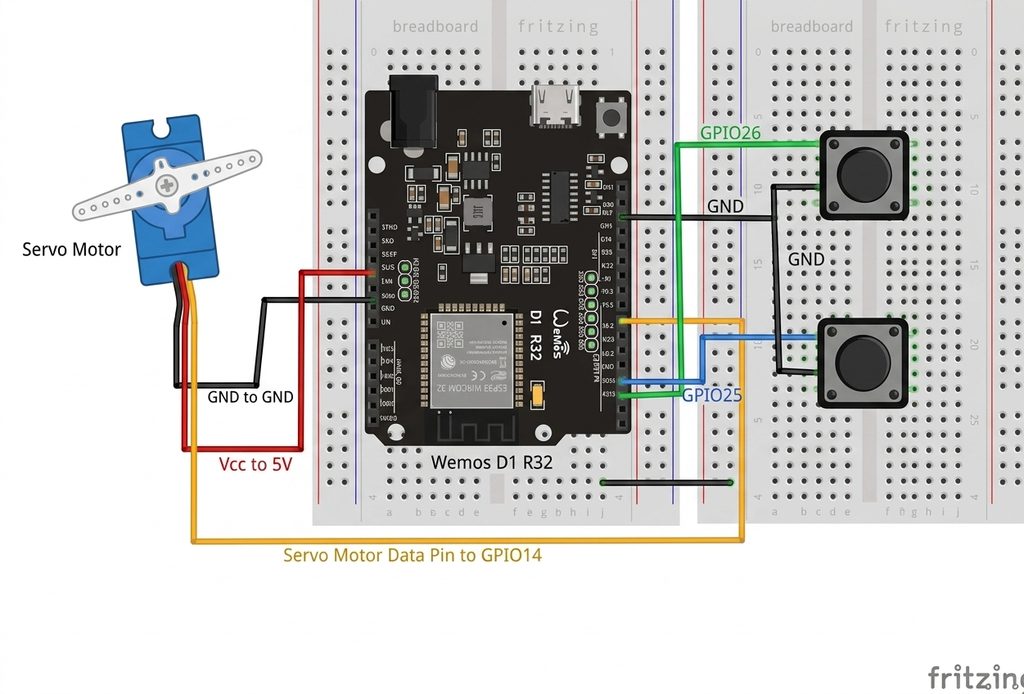
Circuit Wiring
| WeMos D1 R32 | SG90 Servo | Button1 | Button2 |
| 5V | VCC | ||
| GND | GND | GND | GND |
| GPIO14 | Data pin | ||
| GPIO26 | GPIO25 | ||
Required Libraries
ESP32Servo library
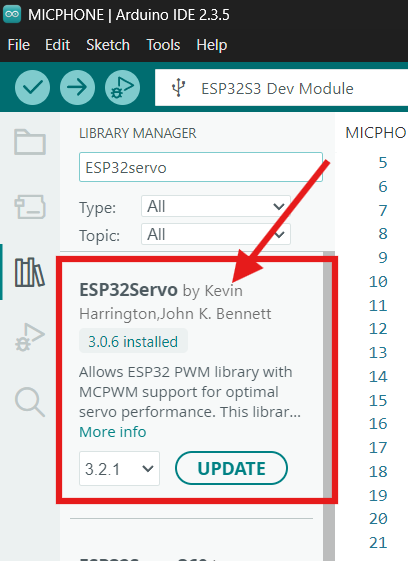
Use Sketch → Include Library → Manage Libraries… in your Arduino IDE to install the ESP32-compatible servo library:
// Include the ESP32 Arduino Servo Library instead of the original Arduino Servo Library
#include <ESP32Servo.h>

Servo myservo;  // Create servo object to control a servo

#define BUTTON_PIN_1 26 // Pin for button 1 (Increase angle)
#define BUTTON_PIN_2 25 // Pin for button 2 (Decrease angle)
#define SERVO_PIN 14    // Pin for servo motor signal

unsigned long previousMillis1 = 0; // Stores last time button 1 was pressed
unsigned long previousMillis2 = 0; // Stores last time button 2 was pressed
const long debounceDelay = 200;    // Non-blocking debounce threshold in ms
int angle = 0;                     // Initial angle position

void setup() {
  // Allow allocation of all hardware timers for ESP32 PWM
  ESP32PWM::allocateTimer(0);
  ESP32PWM::allocateTimer(1);
  ESP32PWM::allocateTimer(2);
  ESP32PWM::allocateTimer(3);

  myservo.setPeriodHertz(50);              // Standard 50Hz servo frequency
  myservo.attach(SERVO_PIN, 500, 2400);   // Attach SG90 with min/max pulse widths (500us to 2400us)

  pinMode(BUTTON_PIN_1, INPUT_PULLUP);    // Enable internal pull-up resistor for Button 1
  pinMode(BUTTON_PIN_2, INPUT_PULLUP);    // Enable internal pull-up resistor for Button 2

  // Center or reset the servo position initially
  myservo.write(angle);
}

void loop() {
  unsigned long currentMillis = millis(); // Obtain current timestamp

  // Process Button 1 (Increase Angle)
  if (currentMillis - previousMillis1 >= debounceDelay) {
    if (digitalRead(BUTTON_PIN_1) == LOW) {
      previousMillis1 = currentMillis;   // Update timestamp
      angle += 30;                        // Increment angle by 30 degrees
      if (angle > 180) angle = 180;       // Upper bound clamp
      myservo.write(angle);               // Update servo arm position
    }
  }

  // Process Button 2 (Decrease Angle)
  if (currentMillis - previousMillis2 >= debounceDelay) {
    if (digitalRead(BUTTON_PIN_2) == LOW) {
      previousMillis2 = currentMillis;   // Update timestamp
      angle -= 30;                        // Decrement angle by 30 degrees
      if (angle < 0) angle = 0;           // Lower bound clamp
      myservo.write(angle);               // Update servo arm position
    }
  }
}
How It Works
Using hardware PWM timers supplied by the ESP32Servo library and running at a typical 50 Hz control frequency, the WeMos D1 R32 initializes the SG90 servo motor. Internal pull-up resistors (INPUT_PULLUP) in both pushbuttons are set up to maintain a default HIGH logic level until they are pressed to ground (LOW).
Non-blocking millis() timing checks confirm that the 200 ms debounce window has passed when Button 1 is pressed, increasing the target position by +30° up to a maximum limit of 180°.
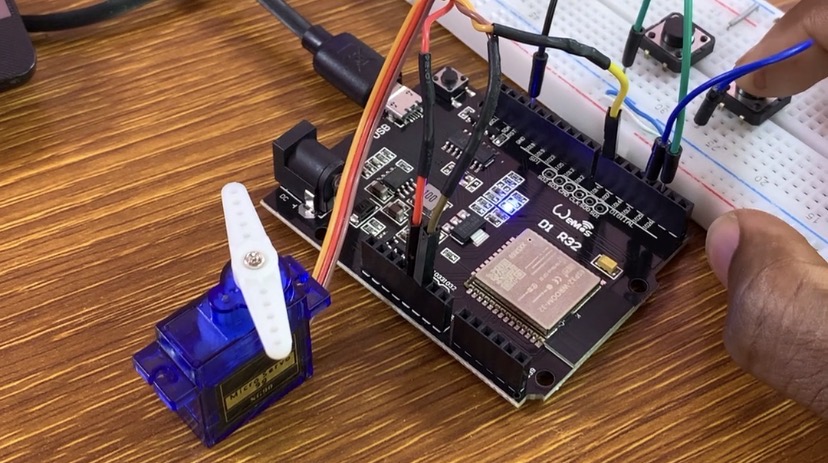
In contrast, the position is decreased by -30° to 0° when Button 2 is pressed. Myservo.The write(angle) instruction holds the servo shaft securely at the designated angle by updating the pulse-width duration delivered over GPIO14.