
Build an ESP8266 Smoke Detector with Audio Alerts & OLED Display
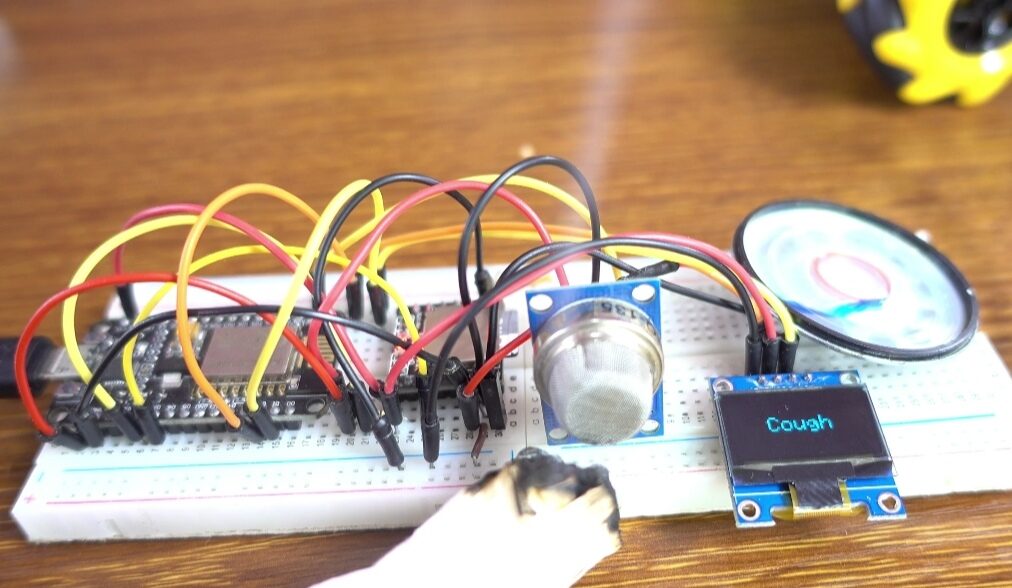
In this course, you will learn how to create a smoke detection system using the ESP8266, the MQ-135 gas sensor, and the DFPlayer Mini audio module. When smoke is detected, the system triggers an audio alert through the DFPlayer Mini, playing a sound to warn users of the danger. We will use an OLED display to show the real-time status, and a speaker to play an audio file indicating smoke detection. This project is great for adding a layer of security and alertness to homes or small projects, demonstrating how sensors and audio feedback can work together.
Watch the full video
For written instructions, continue reading this page, or watch the video guide.
Components Used
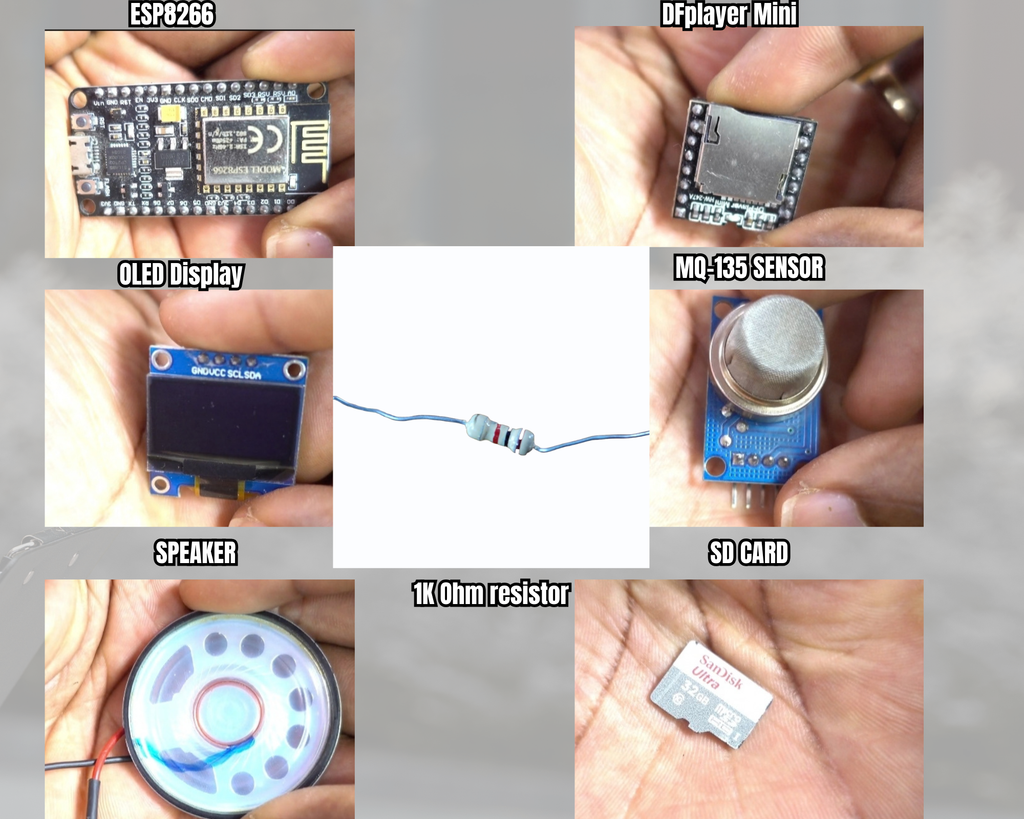
- ESP8266
- MQ-135
- OLED Display
- DFPlayer Mini
- 1K Ohm Resistor
- 20 Ohm 1 Watt Speaker
- Breadboard
- 32GB SD Card
MQ-135 Sensor
The MQ-135 is a gas sensor that detects gases such as ammonia, nitrogen oxides, benzene, and smoke. It has 4 pins:
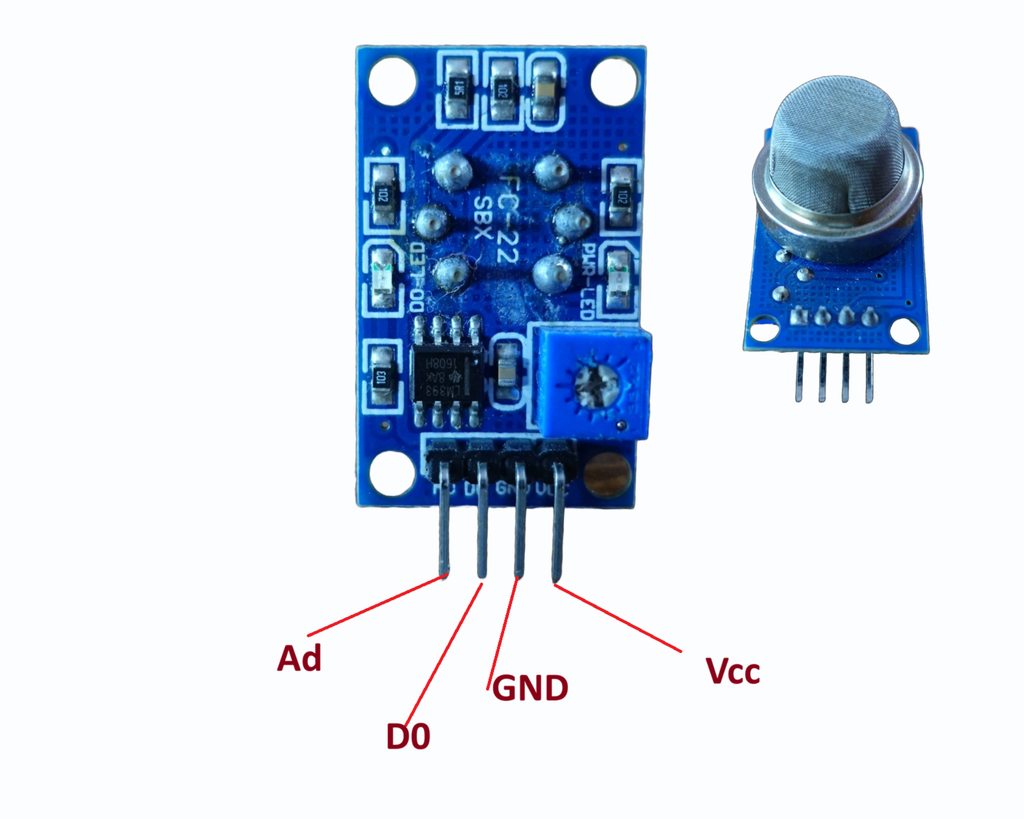
- AD → (Analog Data Output)
- D0 → (Digital Data Output)
- GND → (Ground)
- Vcc → (Power Supply)
he sensor also comes with a 10K Ohm potentiometer to adjust its sensitivity, and an IC LM393 comparator to convert analog signals into digital outputs.
DFPlayer Mini
The DFPlayer Mini is a compact audio player module that supports formats like MP3, WAV, and WMA.
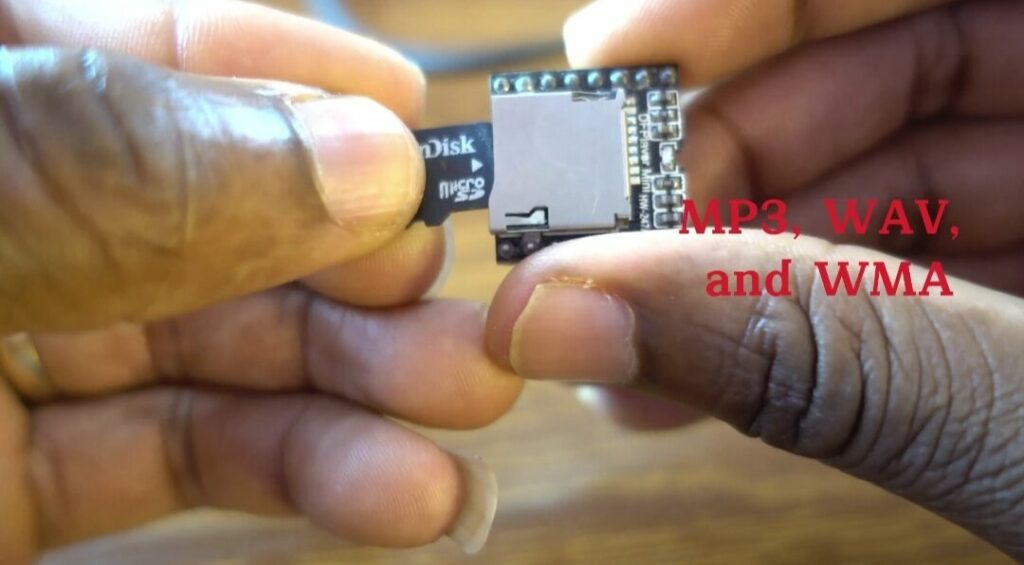
It has a simplified output for direct connection to a speaker. The module features an SD card adapter.
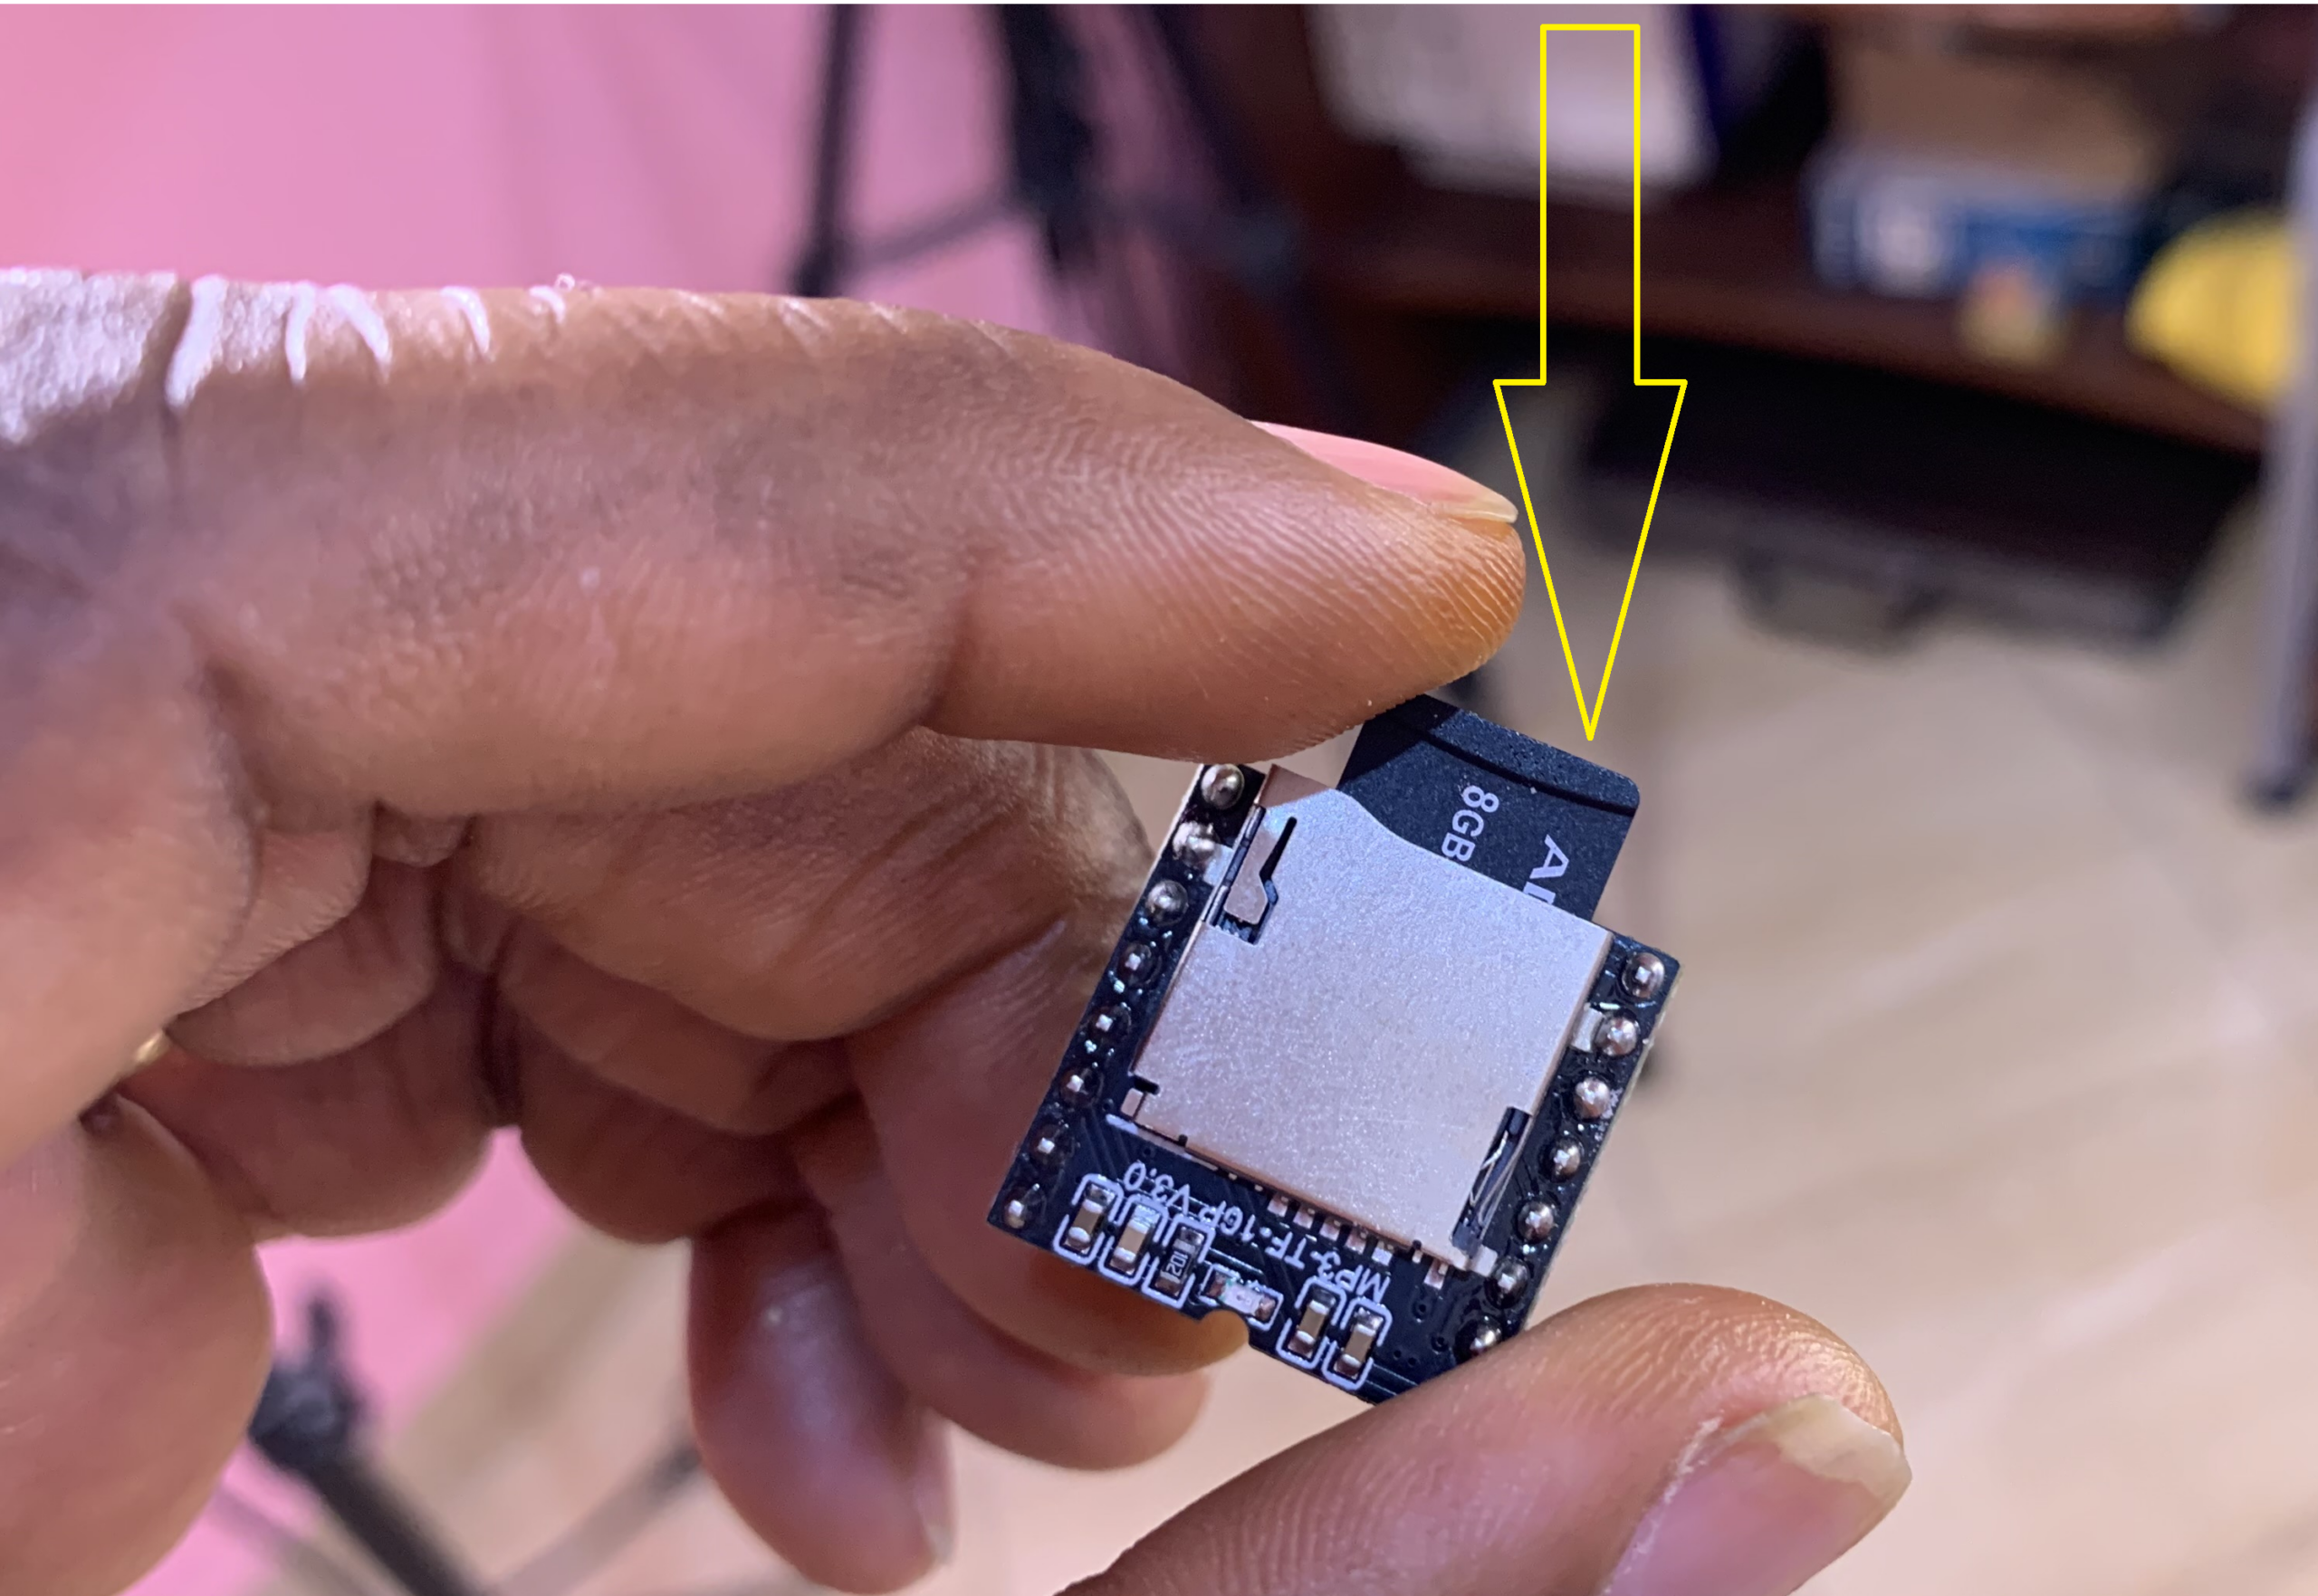
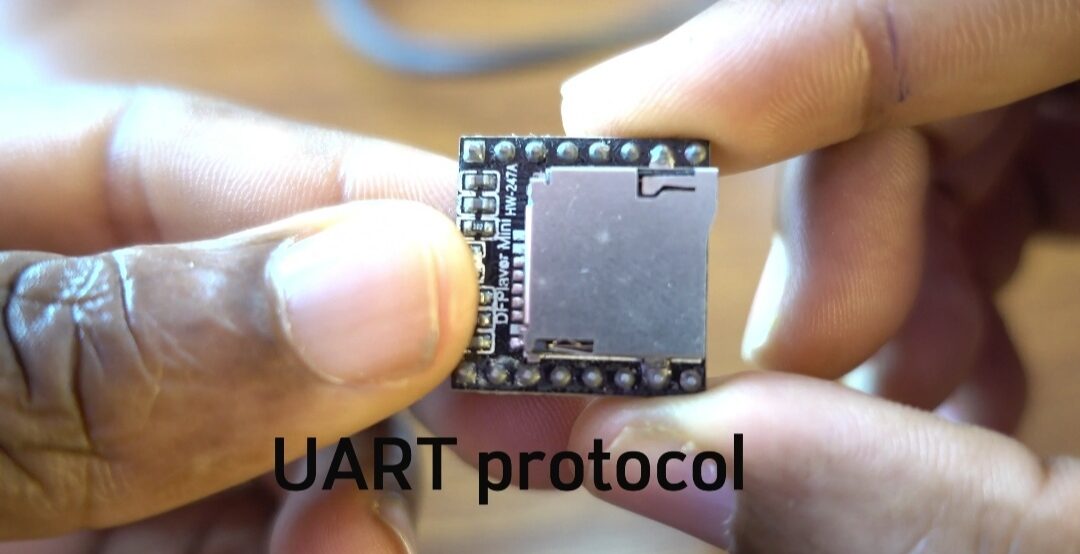
It supports cards up to 32GB in FAT16 or FAT32 format. The module is powered by a 3.2V or 5V DC supply, and communicates with the microcontroller via the UART protocol.
Circuit Diagram
| ESP8266 | OLED Display | MQ-135 | DFPlayer Mini | Speaker | 1K Ohm |
| Vin | Vcc | Vcc | |||
| GND | GND | ||||
| SPK2 | Speaker (-) | ||||
| SPK1 | Speaker (+) | ||||
| D0 | SDA | ||||
| D1 | SCL | ||||
| RXD2 (D6) | Tx | ||||
| TXD2 (pin D7) | TXD2 (pin D7) | ||||
| Rx | Rx | ||||
| A0 | AD | ||||
| 3V3 | Vcc | ||||
| GND | GND |
Code explanation
Libraries and Setup:
#include <Wire.h> // I2C communication
#include <Adafruit_GFX.h> // Graphics functions for OLED
#include <Adafruit_SSD1306.h> // OLED display driver
#include "SoftwareSerial.h" // Non-standard serial communication
#include "DFRobotDFPlayerMini.h" // Control DFPlayer Mini module
These libraries allow communication with the OLED display, handle serial communication, and control the DFPlayer Mini module.
OLED Display Configuration:
#define SCREEN_WIDTH 128
#define SCREEN_HEIGHT 64
#define OLED_RESET -1
Adafruit_SSD1306 display(SCREEN_WIDTH, SCREEN_HEIGHT);
This configures the OLED display dimensions and sets it up for use.
MQ-135 Sensor Pin:
#define analogPin A0The sensor output is connected to analog pin A0 for reading smoke levels.
Software Serial Setup for DFPlayer Mini:
SoftwareSerial mySoftwareSerial(13, 15);
DFRobotDFPlayerMini myDFPlayer;
This sets up software serial communication between the ESP8266 and the DFPlayer Mini on pins 13 (Rx) and 15 (Tx).
Timing Variables:
unsigned long previousMillis = 0;
const long interval = 3100;
bool isPlaying = false;
These variables help control the timing of audio playback and track whether the DFPlayer Mini is currently playing a sound.
Setup Function:
void setup() {
mySoftwareSerial.begin(9600);
Serial.begin(115200);
if (!myDFPlayer.begin(mySoftwareSerial)) {
Serial.println(F("Not initialized:"));
while (true);
}
myDFPlayer.volume(60);
myDFPlayer.EQ(0);
if (!display.begin(SSD1306_SWITCHCAPVCC, 0x3C)) {
while (true);
}
display.clearDisplay();
display.setTextSize(2);
display.setTextColor(SSD1306_WHITE);
display.println(F("Initializing..."));
display.display();
delay(2000);
}
This initializes both the DFPlayer Mini and the OLED display. It sets volume and EQ for the DFPlayer Mini and displays an initialization message on the OLED.
Main Loop:
void loop() {
unsigned long currentMillis = millis();
int sensorValue = analogRead(A0);
display.clearDisplay();
display.setTextSize(2);
if (sensorValue > 500) {
display.setCursor(30, 20);
display.println(F("Cough"));
if (!isPlaying) {
myDFPlayer.play(1);
isPlaying = true;
previousMillis = currentMillis;
}
} else {
display.setCursor(30, 20);
display.println(F("No cough"));
isPlaying = false;
}
if (isPlaying && currentMillis - previousMillis >= interval) {
isPlaying = false;
}
display.display();
delay(100);
}
This loop reads the sensor value, updates the OLED display with either “Cough” or “No cough”, and plays an audio file if smoke is detected. The sound is only triggered once during detection, and the playback status is managed using the timing variables.
Complete Code
#include <Wire.h>
#include <Adafruit_GFX.h>
#include <Adafruit_SSD1306.h>
#include "SoftwareSerial.h"
#include "DFRobotDFPlayerMini.h"

#define SCREEN_WIDTH 128
#define SCREEN_HEIGHT 64
#define OLED_RESET -1
Adafruit_SSD1306 display(SCREEN_WIDTH, SCREEN_HEIGHT);

#define analogPin A0

SoftwareSerial mySoftwareSerial(13, 15);
DFRobotDFPlayerMini myDFPlayer;

unsigned long previousMillis = 0;
const long interval = 3100;
bool isPlaying = false;

void setup() {
  mySoftwareSerial.begin(9600);
  Serial.begin(115200);
  if (!myDFPlayer.begin(mySoftwareSerial)) {
    Serial.println(F("Not initialized:"));
    while (true);
  }
  myDFPlayer.volume(60);
  myDFPlayer.EQ(0);
  if (!display.begin(SSD1306_SWITCHCAPVCC, 0x3C)) {
    while (true);
  }
  display.clearDisplay();
  display.setTextSize(2);
  display.setTextColor(SSD1306_WHITE);
  display.println(F("Initializing..."));
  display.display();
  delay(2000);
}

void loop() {
  unsigned long currentMillis = millis();
  int sensorValue = analogRead(A0);
  display.clearDisplay();
  display.setTextSize(2);
  if (sensorValue > 500) {
    display.setCursor(30, 20);
    display.println(F("Cough"));
    if (!isPlaying) {
      myDFPlayer.play(1);
      isPlaying = true;
      previousMillis = currentMillis;
    }
  } else {
    display.setCursor(30, 20);
    display.println(F("No cough"));
    isPlaying = false;
  }
  if (isPlaying && currentMillis - previousMillis >= interval) {
    isPlaying = false;
  }
  display.display();
  delay(100);
}
How Does the Project Work?
Under normal conditions, the MQ-135 gas sensor continuously monitors the surrounding air quality and sends analog values to the ESP8266 microcontroller. While the sensor readings stay below the safety threshold, the system remains in its standard monitoring state. During this time, the OLED display continuously shows “No cough” to indicate a clean and safe environment, keeping the audio module inactive.
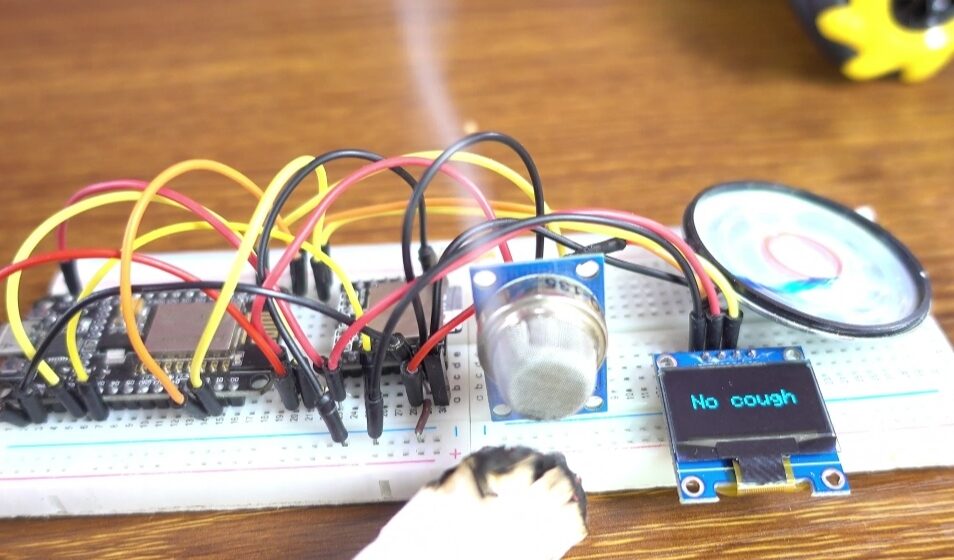
When smoke or pollutant gases enter the area, the sensor values rise above the threshold limit, prompting the ESP8266 to switch states. The OLED display immediately updates to show “Cough”, and the microcontroller simultaneously commands the DFPlayer Mini to play a pre-loaded warning sound through the speaker. This combination of real-time visual updates and audio feedback creates an effective, responsive warning system for potential hazards.