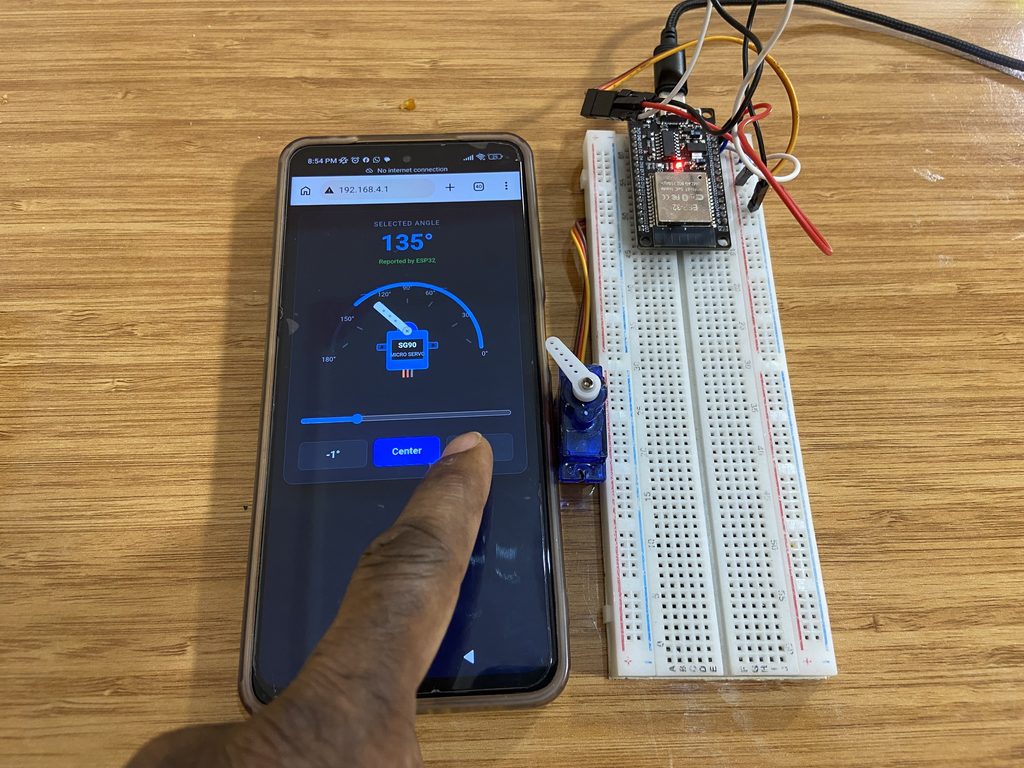

Wi-Fi Webserver-Controlled SG90 Servo Motor with ESP32
If you ever wanted to control a servo motor remotely directly from a smartphone or even from your laptop browser, you’re in the right tutorial. In this tutorial, we are going to learn how to build a self-contained wireless servo motor controller experiment with an ESP32 board. The ESP32 microcontroller will be the Wi-Fi Access Point, and it will also host a lightweight, responsive web server containing real-time SVG graphics and smooth slider controls. We can easily command in this project an SG92R/SG90 servo motor from any place within range. Application: Pan-tilt camera mount, robotic arm, IoT projects, etc.
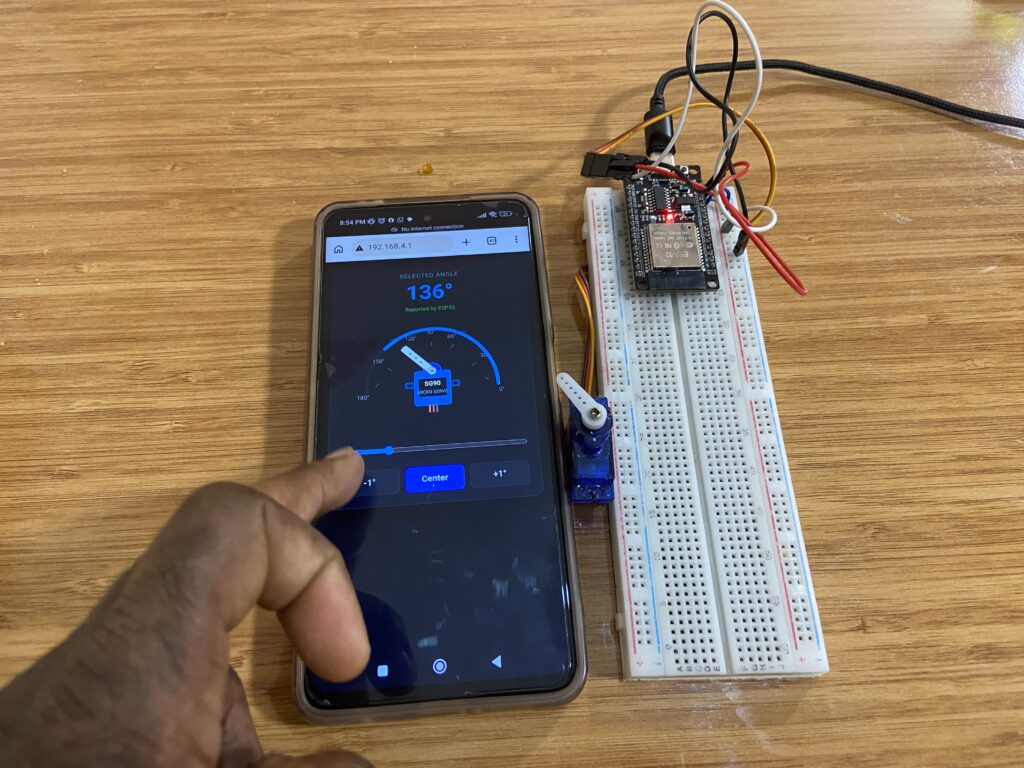
Watch the full video
For written instructions, continue reading this page or watch the video guide.
Parts required
You need the following electronic components to follow along with this tutorial.
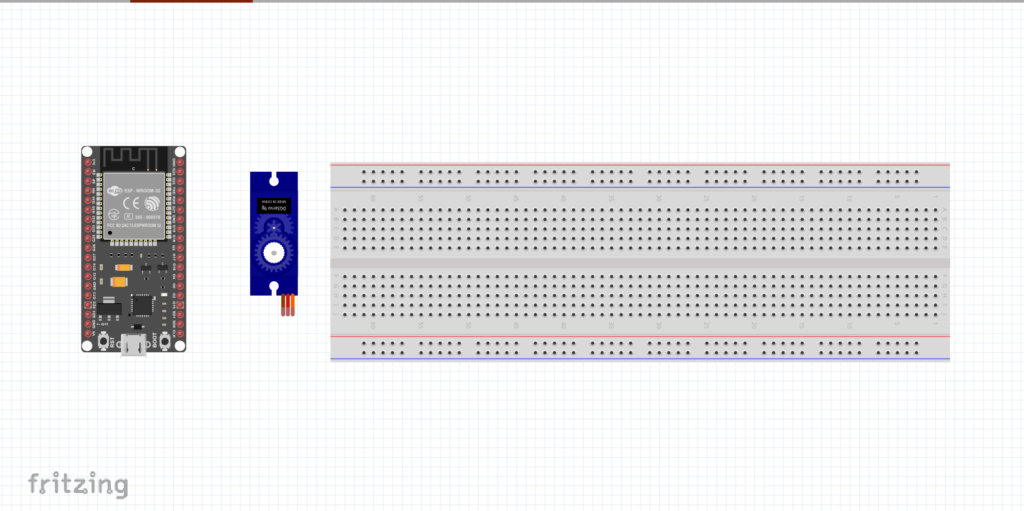
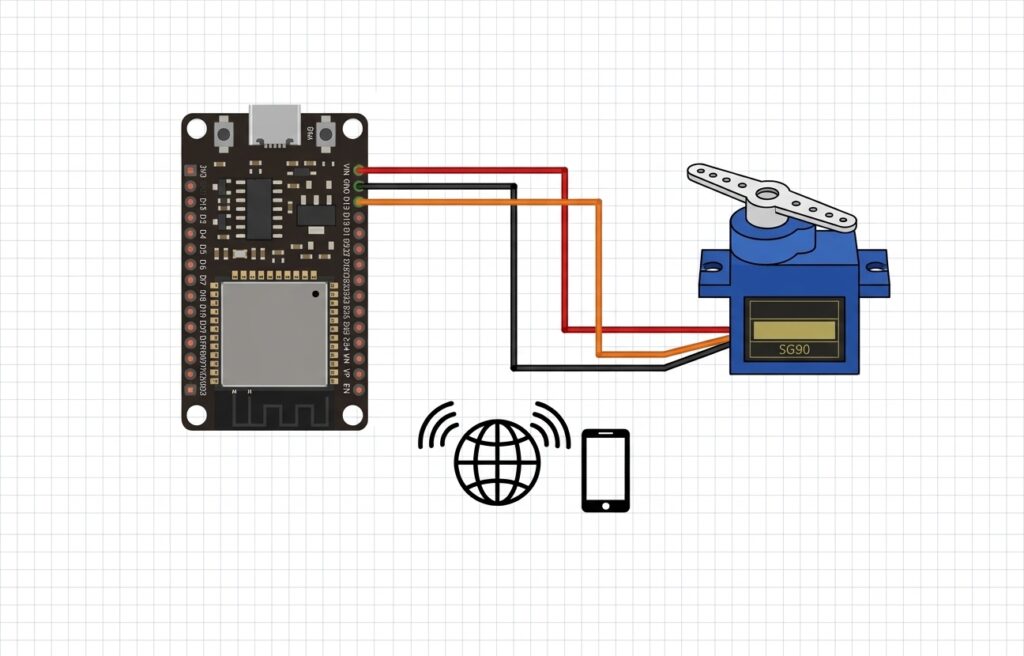
Circuit Diagram
Interface the SG90 Servo Motor with the ESP32 microcontroller as shown in the schematic diagram below.
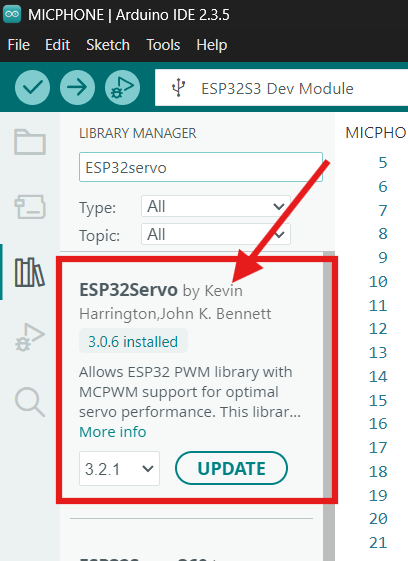
Install the ESP32Servo library
For this project, we need to install the ESP32Servo library by Kevin Harrington and John K. Bennett t control the servo motor
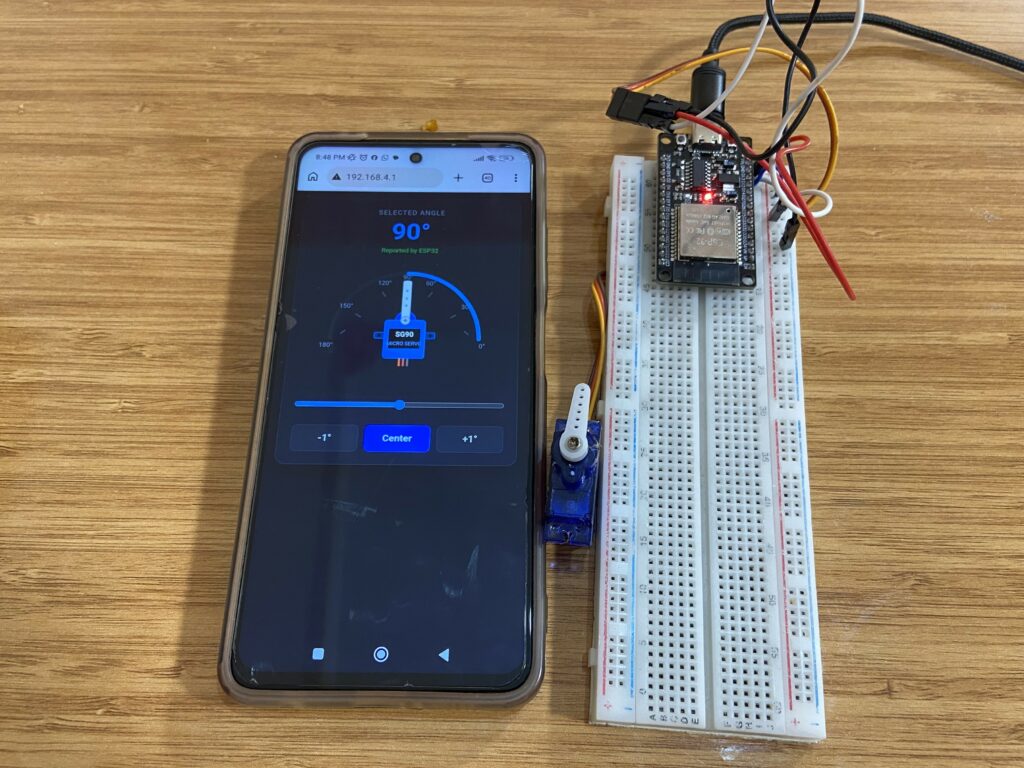
Control the SG90 servo motor from the web server dashboard
To control the SG90 servo motor from the web server dashboard, we are going to use the sketch below.
#include <WiFi.h>
#include <WebServer.h>
#include <ESP32Servo.h>
// Replace with your desired Access Point network credentials
const char* ssid = "ESP32_Servo_Control";
const char* password = "password1234";
WebServer server(80);
Servo myservo;
const int servoPin = 13;
int currentAngle = 90; // Default center position
// HTML and JavaScript Web Interface
const char MAIN_page[] PROGMEM = R"rawliteral(
<!DOCTYPE html>
<html>
<head>
<meta charset="UTF-8">
<meta name="viewport" content="width=device-width, initial-scale=1">
<title>ESP32 SG90 Servo Controller</title>
<style>
body { font-family: Arial, sans-serif; background-color: #0d1117; color: #ffffff; text-align: center; margin: 0; padding: 15px; }
.card { background: #161b22; padding: 20px; border-radius: 16px; max-width: 380px; margin: auto; box-shadow: 0 8px 24px rgba(0,0,0,0.6); border: 1px solid #30363d; }
.label-top { font-size: 12px; color: #8b949e; letter-spacing: 1px; text-transform: uppercase; margin-bottom: 5px; }
.angle-display { font-size: 42px; font-weight: bold; color: #58a6ff; margin-bottom: 5px; }
.status-text { font-size: 11px; color: #3fb950; margin-bottom: 10px; }
/* Gauge Container */
.gauge-container { position: relative; width: 100%; max-width: 300px; margin: 0 auto; }
input[type=range] { width: 100%; height: 8px; background: #30363d; outline: none; border-radius: 4px; margin: 25px 0 15px 0; accent-color: #58a6ff; }
.btn-group { display: flex; justify-content: space-between; gap: 10px; margin-top: 15px; }
button { flex: 1; padding: 12px; font-size: 15px; font-weight: bold; border: none; border-radius: 8px; cursor: pointer; background: #21262d; color: #c9d1d9; border: 1px solid #30363d; transition: 0.2s; }
button:active { background: #30363d; }
.center-btn { background: #1f6feb; color: #ffffff; border: none; }
.center-btn:active { background: #388bfd; }
</style>
</head>
<body>
<div class="card">
<div class="label-top">Selected Angle</div>
<div class="angle-display" id="angleValue">90°</div>
<div class="status-text" id="statusText">Reported by ESP32</div>
<!-- Gauge Graphic with Locked Volume-Style Blue Fill Arc -->
<div class="gauge-container">
<svg viewBox="0 0 280 210" width="100%">
<!-- Background Arc Track -->
<path d="M 30,135 A 110,110 0 0,1 250,135" fill="none" stroke="#21262d" stroke-width="6" stroke-linecap="round"/>
<!-- Active Volume Fill Arc (Locked strictly to semicircle path) -->
<path id="progressArc" d="M 250,135 A 110,110 0 0,0 140,25" fill="none" stroke="#58a6ff" stroke-width="6" stroke-linecap="round"/>
<!-- Degree Tick Marks & Labels (180° Left, 0° Right) -->
<g fill="#8b949e" font-size="10" text-anchor="middle">
<text x="25" y="150">180°</text>
<text x="50" y="85">150°</text>
<text x="105" y="45">120°</text>
<text x="140" y="35">90°</text>
<text x="175" y="45">60°</text>
<text x="230" y="85">30°</text>
<text x="255" y="150">0°</text>
</g>
<!-- Ticks -->
<path d="M 45,128 L 52,122 M 65,95 L 73,100 M 102,57 L 108,65 M 140,50 L 140,58 M 178,57 L 172,65 M 215,95 L 207,100 M 235,128 L 228,122" stroke="#484f58" stroke-width="2"/>
<!-- --- DETAILED SG90 SERVO BODY GRAPHIC --- -->
<!-- Wires coming out of the bottom -->
<rect x="133" y="165" width="3" height="15" fill="#ff7043"/>
<rect x="139" y="165" width="3" height="15" fill="#ef5350"/>
<rect x="145" y="165" width="3" height="15" fill="#8d6e63"/>
<!-- Mounting Tabs -->
<rect x="95" y="125" width="90" height="10" rx="2" fill="#1b4f72" stroke="#2980b9" stroke-width="1"/>
<circle cx="102" cy="130" r="2.5" fill="#0d1117"/>
<circle cx="178" cy="130" r="2.5" fill="#0d1117"/>
<!-- Main Blue Body -->
<rect x="110" y="105" width="60" height="62" rx="4" fill="#1e88e5" stroke="#42a5f5" stroke-width="1.5"/>
<!-- Top Gear Housing -->
<path d="M 125,105 A 15,15 0 0,1 155,105 Z" fill="#1565c0" stroke="#42a5f5" stroke-width="1"/>
<!-- Black Label Box -->
<rect x="116" y="118" width="48" height="34" rx="2" fill="#0d1117" stroke="#42a5f5" stroke-width="1"/>
<text x="140" y="132" fill="#ffffff" font-size="11" font-weight="bold" text-anchor="middle">SG90</text>
<text x="140" y="146" fill="#90caf9" font-size="8" text-anchor="middle">MICRO SERVO</text>
<!-- --- ROTATING WHITE SINGLE ARM HORN & SCREW --- -->
<g id="servoNeedle" transform="translate(140, 105) rotate(0)">
<!-- White Single-Arm Horn Shape -->
<path d="M -6,0 L -6,-65 C -6,-68 6,-68 6,-65 L 6,0 Z" fill="#f8fafc" stroke="#cbd5e1" stroke-width="1" rx="2"/>
<!-- Adjustment Holes along the arm -->
<circle cx="0" cy="-25" r="2" fill="#94a3b8"/>
<circle cx="0" cy="-37" r="2" fill="#94a3b8"/>
<circle cx="0" cy="-50" r="2" fill="#94a3b8"/>
<!-- Center Screw (Circle with crosshair) -->
<circle cx="0" cy="0" r="7" fill="#e2e8f0" stroke="#94a3b8" stroke-width="1"/>
<line x1="-3" y1="0" x2="3" y2="0" stroke="#64748b" stroke-width="1.5"/>
<line x1="0" y1="-3" x2="0" y2="3" stroke="#64748b" stroke-width="1.5"/>
</g>
</svg>
</div>
<!-- Slider Control -->
<input type="range" id="servoRange" min="0" max="180" value="90" oninput="updateAngle(this.value)">
<!-- Fine-tune Buttons -->
<div class="btn-group">
<button onclick="adjustAngle(-1)">-1°</button>
<button class="center-btn" onclick="setAngle(90)">Center</button>
<button onclick="adjustAngle(1)">+1°</button>
</div>
</div>
<script>
let throttleTimer = null;
function updateAngle(sliderVal) {
let val = parseInt(sliderVal);
let servoAngle = 180 - val;
document.getElementById("angleValue").innerHTML = servoAngle + "°";
document.getElementById("servoRange").value = val;
// Rotate needle: 0° points right (+90°), 180° points left (-90°)
let rotationDegree = 90 - servoAngle;
document.getElementById("servoNeedle").setAttribute("transform", "translate(140, 105) rotate(" + rotationDegree + ")");
// Calculate arc coordinates on semicircle centered at (140, 135) with radius 110
let theta = servoAngle * Math.PI / 180;
let x = 140 + 110 * Math.cos(theta);
let y = 135 - 110 * Math.sin(theta);
// Sweep flag '0,0' forces arc through upper semicircle path
let pathData = "M 250,135 A 110,110 0 0,0 " + x.toFixed(2) + "," + y.toFixed(2);
document.getElementById("progressArc").setAttribute("d", pathData);
// Debounced network request (150ms delay) prevents ESP32 flooding and eliminates servo jitter
clearTimeout(throttleTimer);
throttleTimer = setTimeout(() => {
fetch('/setAngle?value=' + servoAngle);
}, 150);
}
function setAngle(targetAngle) {
let sliderVal = 180 - targetAngle;
updateAngle(sliderVal);
}
function adjustAngle(change) {
let currentServoAngle = 180 - parseInt(document.getElementById("servoRange").value);
let newServoAngle = currentServoAngle + change;
if (newServoAngle >= 0 && newServoAngle <= 180) {
setAngle(newServoAngle);
}
}
// Initialize arc on load
window.onload = function() {
updateAngle(90);
};
</script>
</body>
</html>
)rawliteral";
void handleRoot() {
server.send(200, "text/html", MAIN_page);
}
void handleSetAngle() {
if (server.hasArg("value")) {
int angle = server.arg("value").toInt();
if (angle >= 0 && angle <= 180) {
if (currentAngle != angle) { // Only update servo if angle actually changed
currentAngle = angle;
myservo.write(currentAngle);
}
}
}
server.send(200, "text/plain", "OK");
}
void setup() {
Serial.begin(115200);
myservo.attach(servoPin);
myservo.write(currentAngle);
WiFi.softAP(ssid, password);
Serial.println("Access Point Started");
Serial.print("IP Address: ");
Serial.println(WiFi.softAPIP());
server.on("/", handleRoot);
server.on("/setAngle", handleSetAngle);
server.begin();
}
void loop() {
server.handleClient();
}Demonstration
Upload the code to your ESP32 board.
Open the Serial Monitor at a baud rate of 115200.
Connect to the Wi-Fi Access Point created by the ESP32; find the Wi-Fi Access Point SSID and password in the code.
On the Arduino IDE Serial Monitor, get the IP address and type the IP address into Chrome or another browser on your smartphone.