Getting Started with Arduino Uno R4 Wi-Fi
In this blog, you will learn how to get started with the Arduino Uno R4 Wi-Fi using the Arduino IDE.
Description
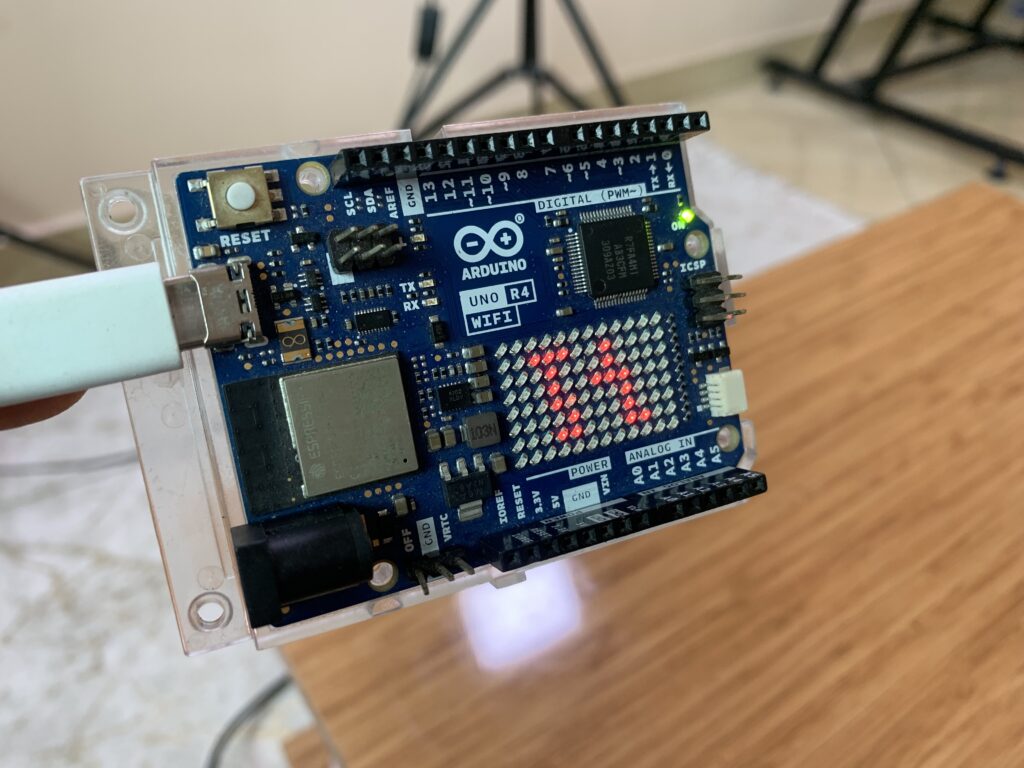
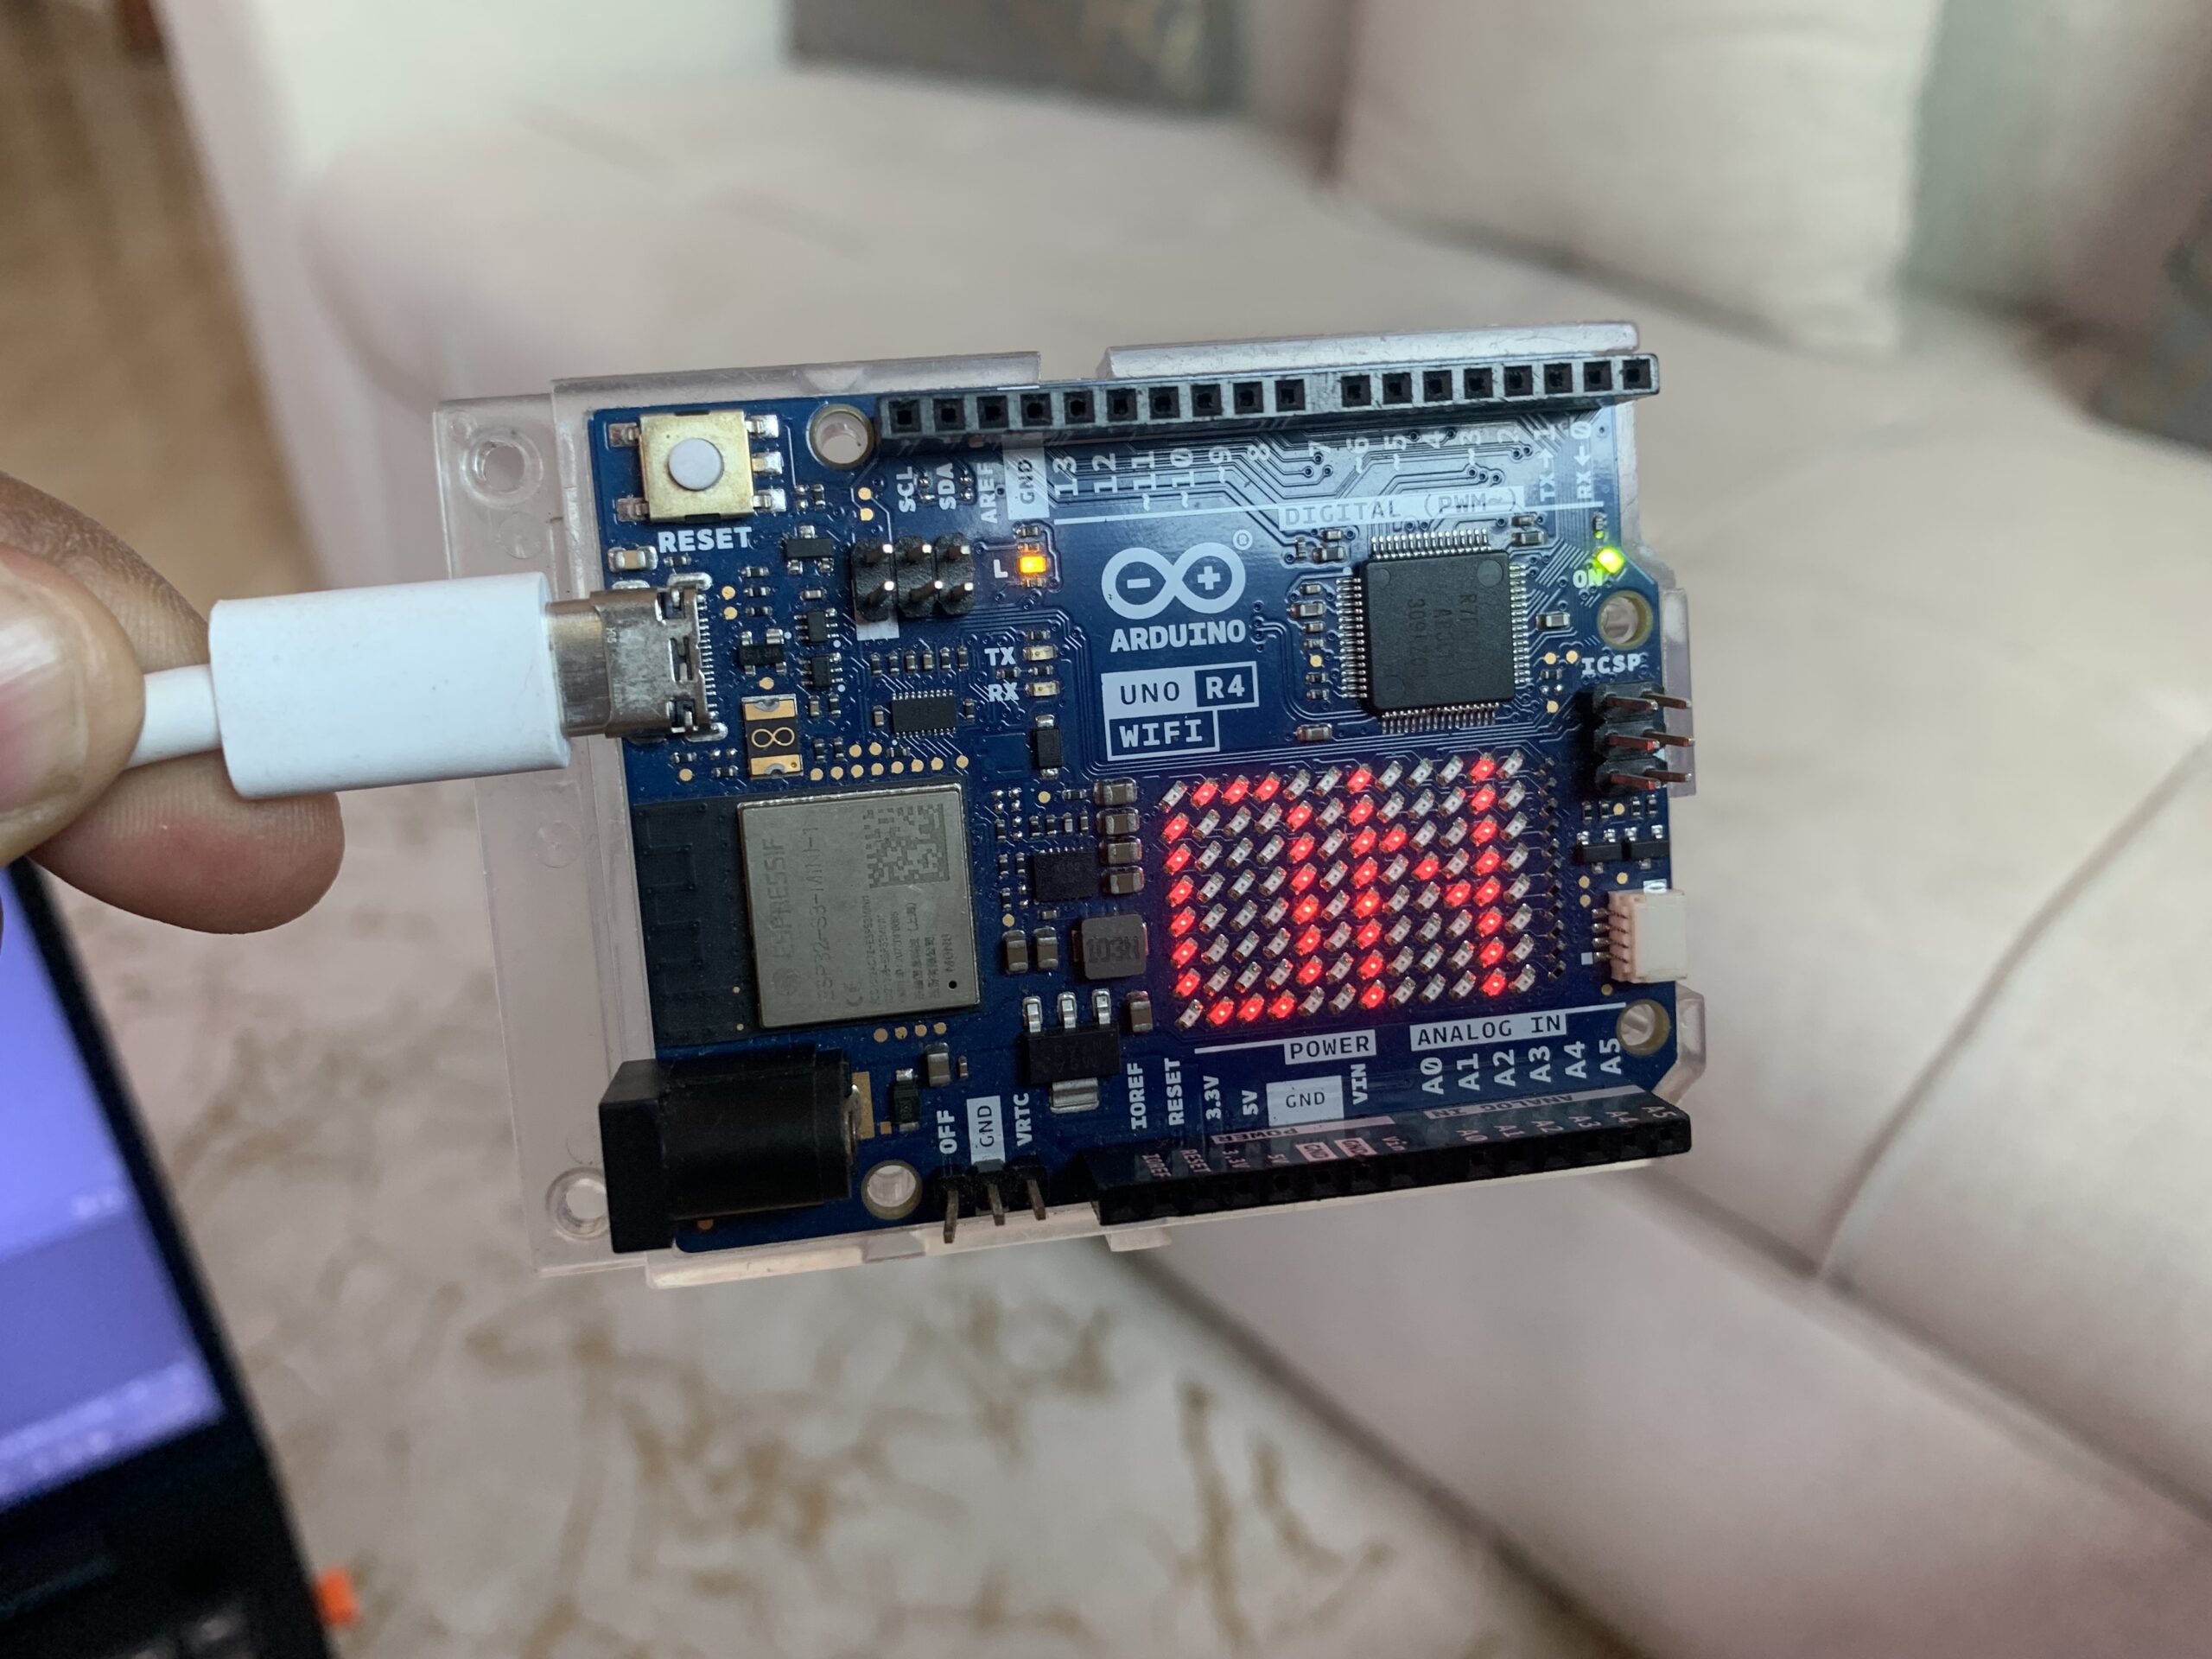
The Arduino Uno R4 Wi-Fi is an Arduino board powered by the RA4M1, a 32-bit microcontroller from Renesas. It features an ESP32 module for Wi-Fi and Bluetooth connectivity, which are two of its key highlights.
It also integrates a 12×8 LED matrix, allowing you to prototype visuals directly on the board.
The Arduino Uno R4 Wi-Fi includes the following features:
- Digital-to-Analog Converter (DAC)
- Real-Time Clock (RTC)
- Operates at 5V
- Supports an input voltage range of 6 to 24 volts through the barrel jack or VIN pin
Arduino IDE setup
To use the Arduino Uno R4 Wi-Fi with the Arduino IDE, first download the Arduino software from the official Arduino website.
Install Board Package
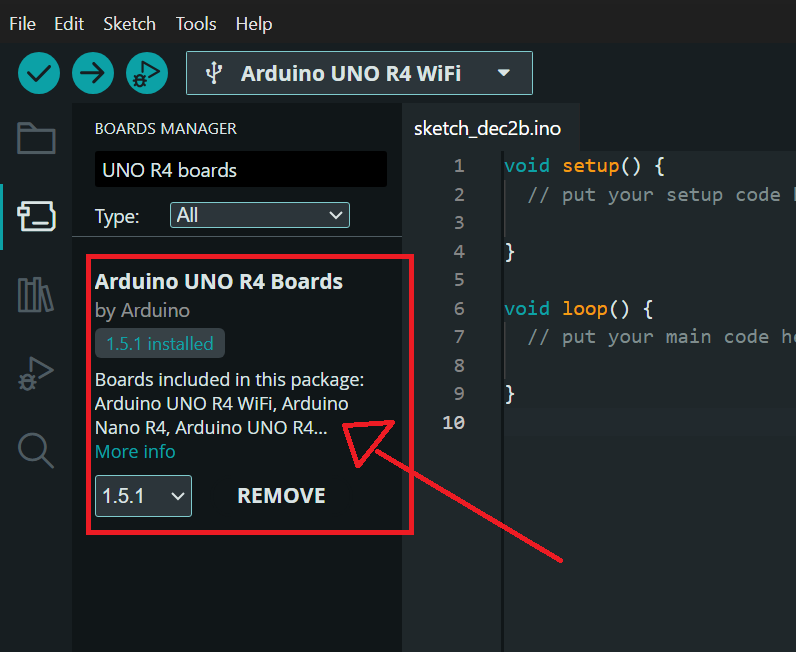
After installing the Arduino IDE, open it and go to the Boards Manager to install the board package. In the Boards Manager search bar, type “UNO R4” and install the Arduino Uno R4 Boards package by Arduino.
Test Arduino Uno R4 Wi-Fi
Install the ArduinoGraphics Library
Make sure to install the ArduinoGraphics library, a core graphics library for Arduino based on the Processing API, essential for display and visual prototyping on boards like the Uno R4 Wi-Fi.
In the Library Manager search bar (Tools > Manage Libraries), type “ArduinoGraphics” and look for the library named ArduinoGraphics by Arduino. Click Install to add it to your IDE.
Once installed, it will appear under Sketch > Include Library for use in your sketches.

Arduino code
You don’t need to install the Arduino_LED_Matrix.h separately because it is automatically installed when you install the Arduino Uno R4 Boards package. This library comes included as part of the board package, ensuring it is ready to use without any additional installation steps.
#include <ArduinoGraphics.h>
#include "Arduino_LED_Matrix.h"
// Define the matrix object
ArduinoLEDMatrix matrix;
void setup() {
// Initialize the matrix
matrix.begin();
// Set text properties
matrix.textScrollSpeed(300); // Set scroll speed
matrix.textFont(Font_5x7); // Set font
}
void loop() {
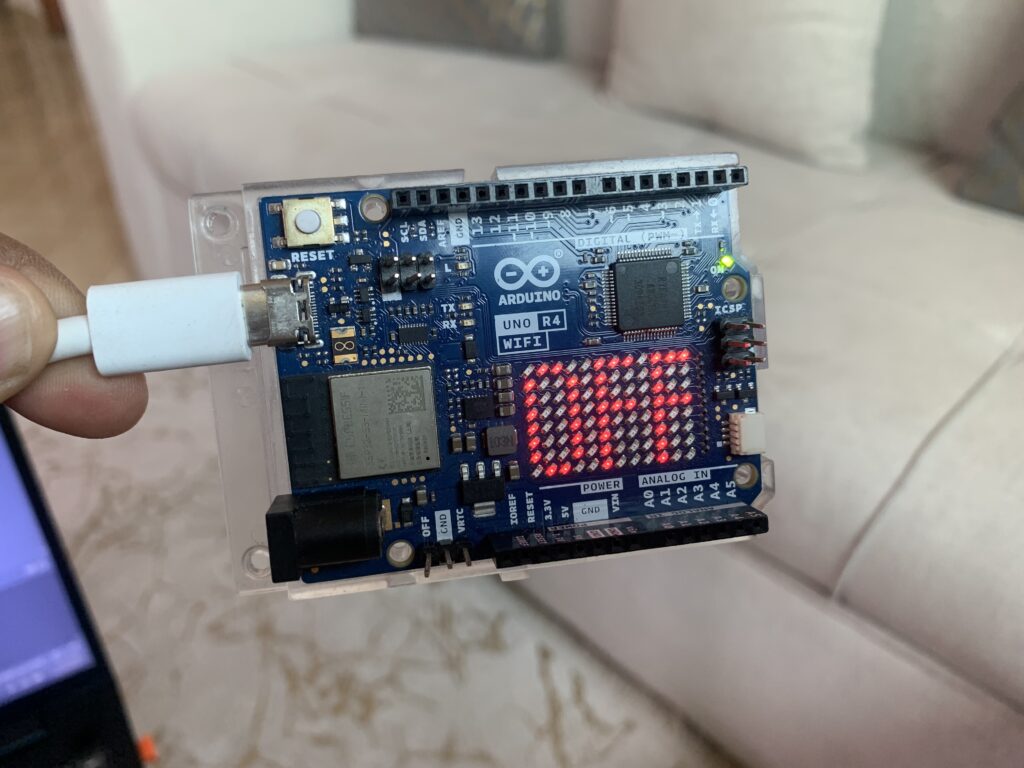
// Start drawing
matrix.beginDraw();
// Start printing text at position (0, 1) in white
matrix.beginText(0, 1, 0xFFFFFF);
// Print the message to be scrolled
matrix.println("Welcome to Upload Ideas With Itamar");
// End the text and set scroll to the left
matrix.endText(SCROLL_LEFT);
// End the drawing session
matrix.endDraw();
// Add a delay to control the scrolling frequency
delay(300);
}
The Arduino initializes the built-in LED matrix, selects the font, and sets the scrolling speed. It then starts a drawing session, writes the message “Welcome to Upload Ideas With Itamar,” and tells the matrix to scroll the text from right to left. The display updates, the message keeps moving across the LED matrix, and the loop repeats so the scrolling continues smoothly.