Using Rotary Encoder with Arduino Uno R3 and OLED Display
In this tutorial, we will demonstrate how to use a Rotary Encoder with an Arduino Uno R3 to control variables and interact with an OLED display. Rotary encoders are popular input devices used for setting values, navigating menus, and controlling electronics projects.
COMPONENTS USED Arduino Uno R3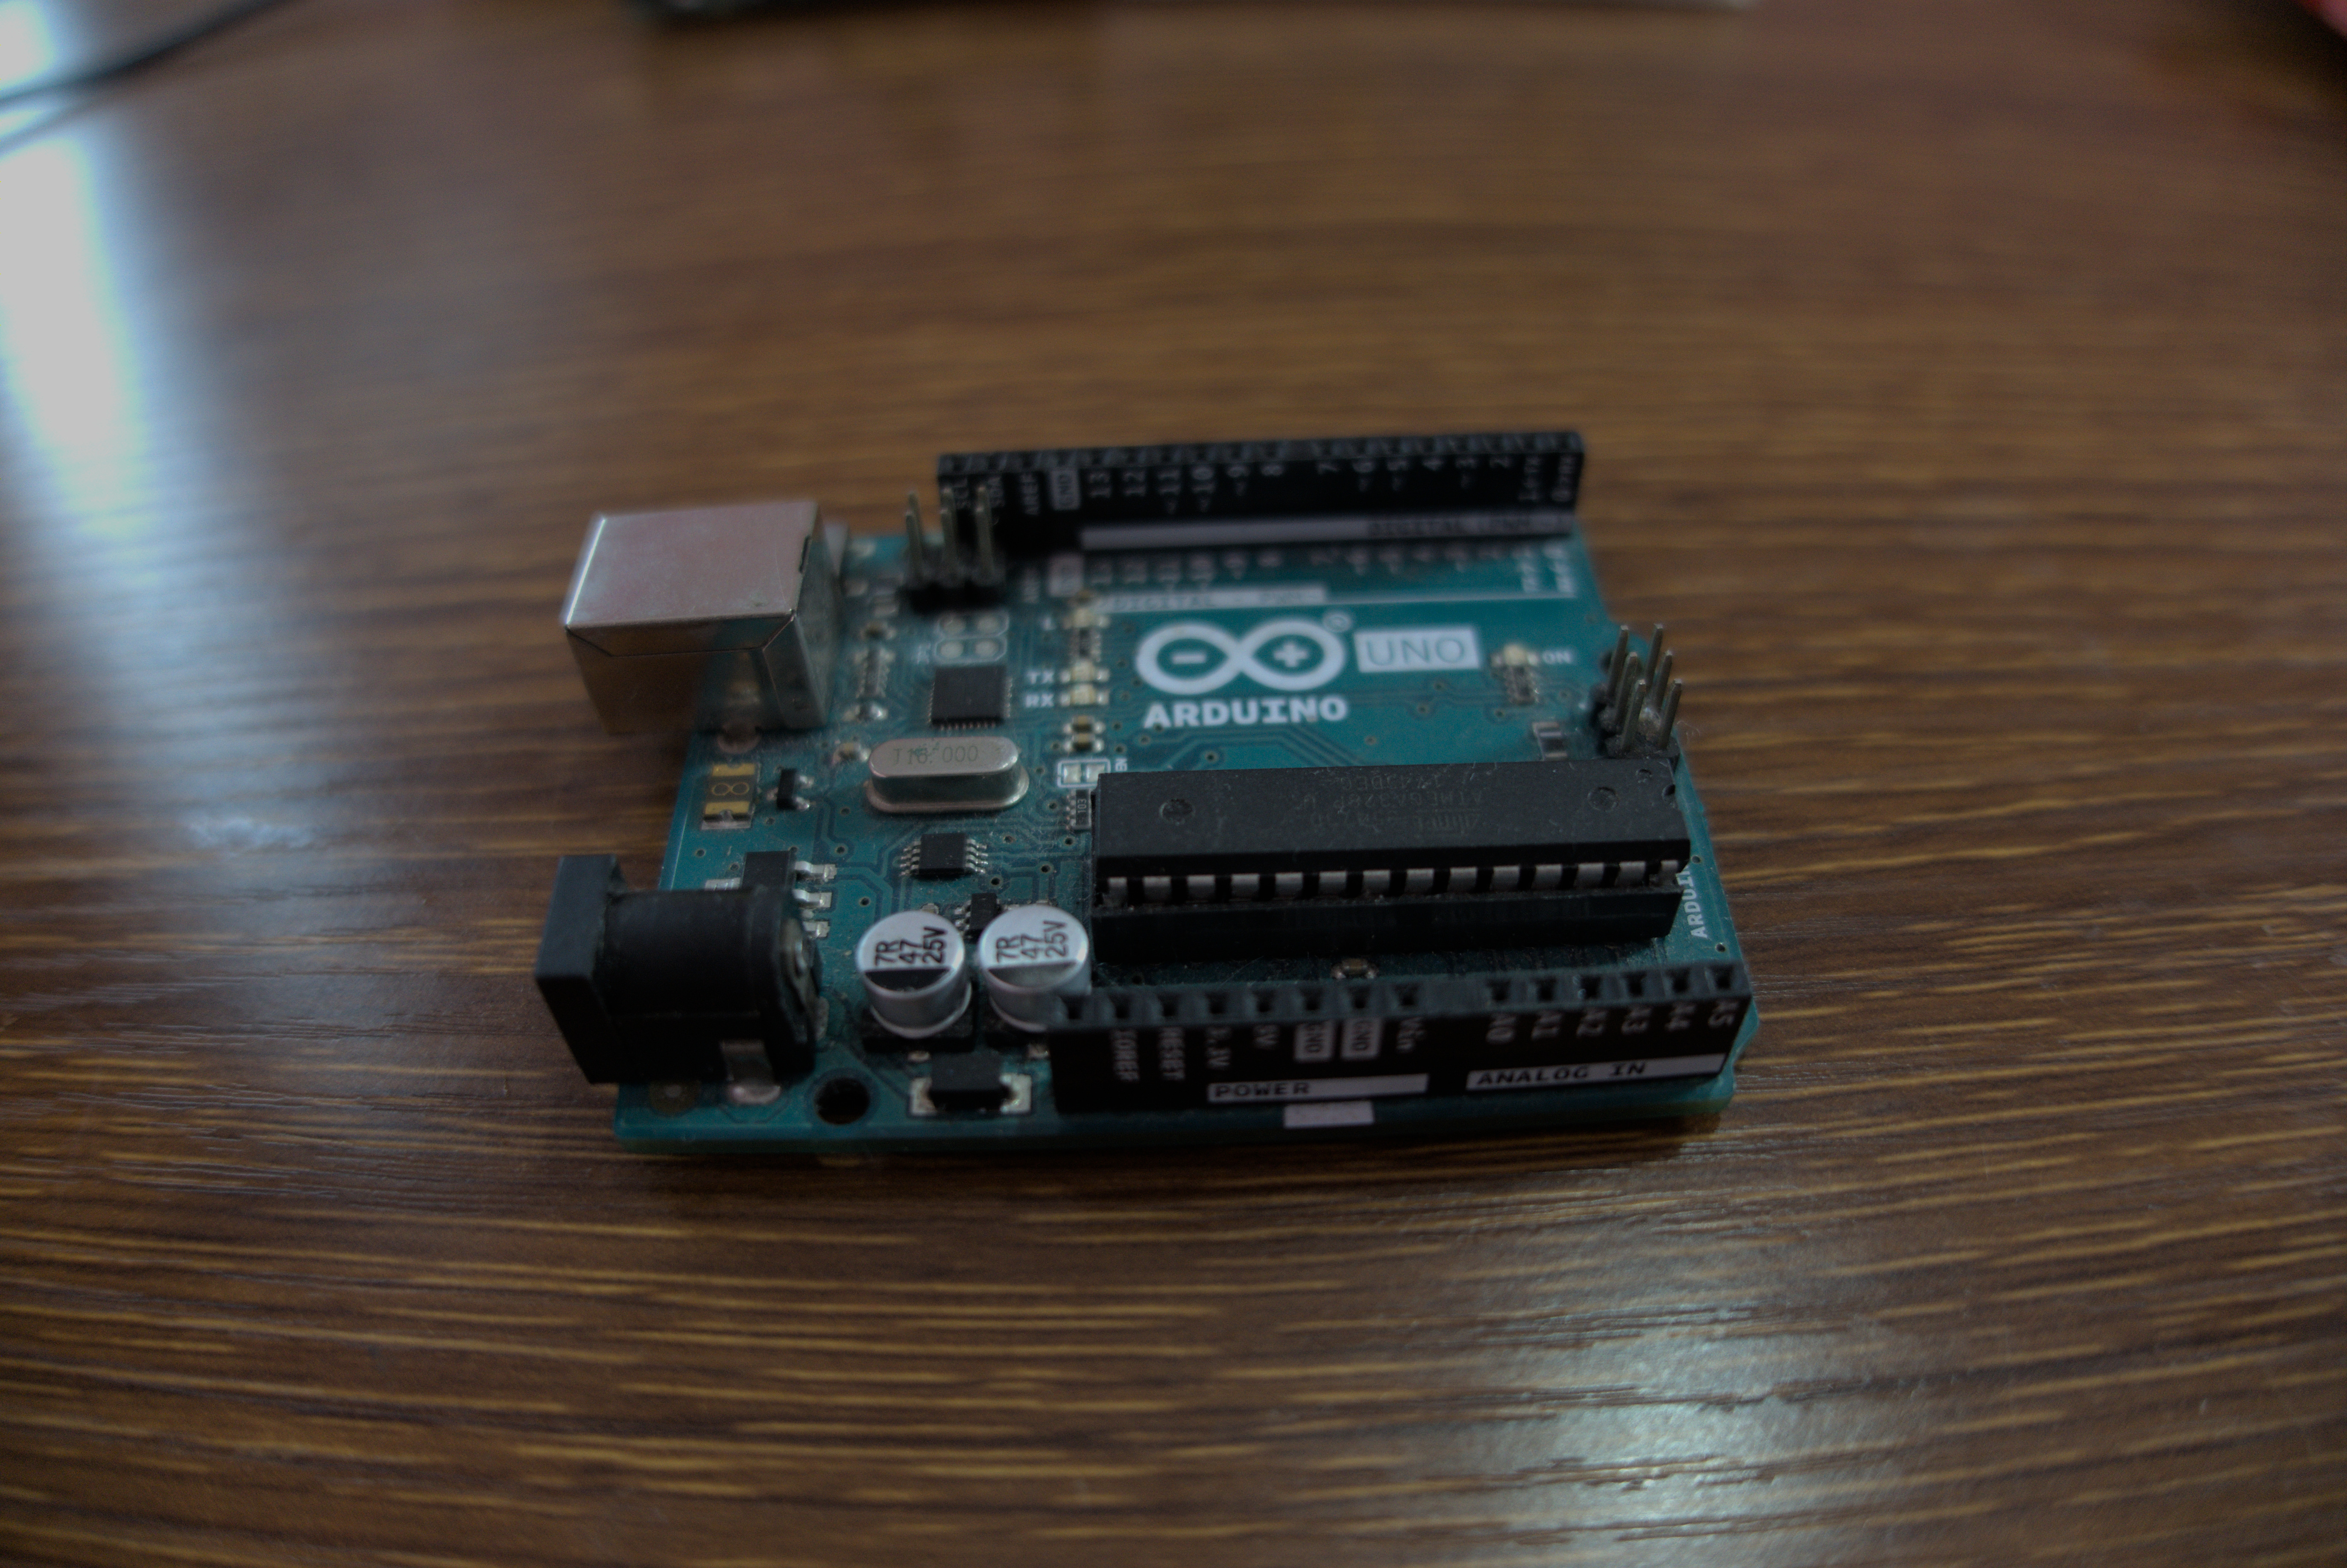 Rotary Encoder
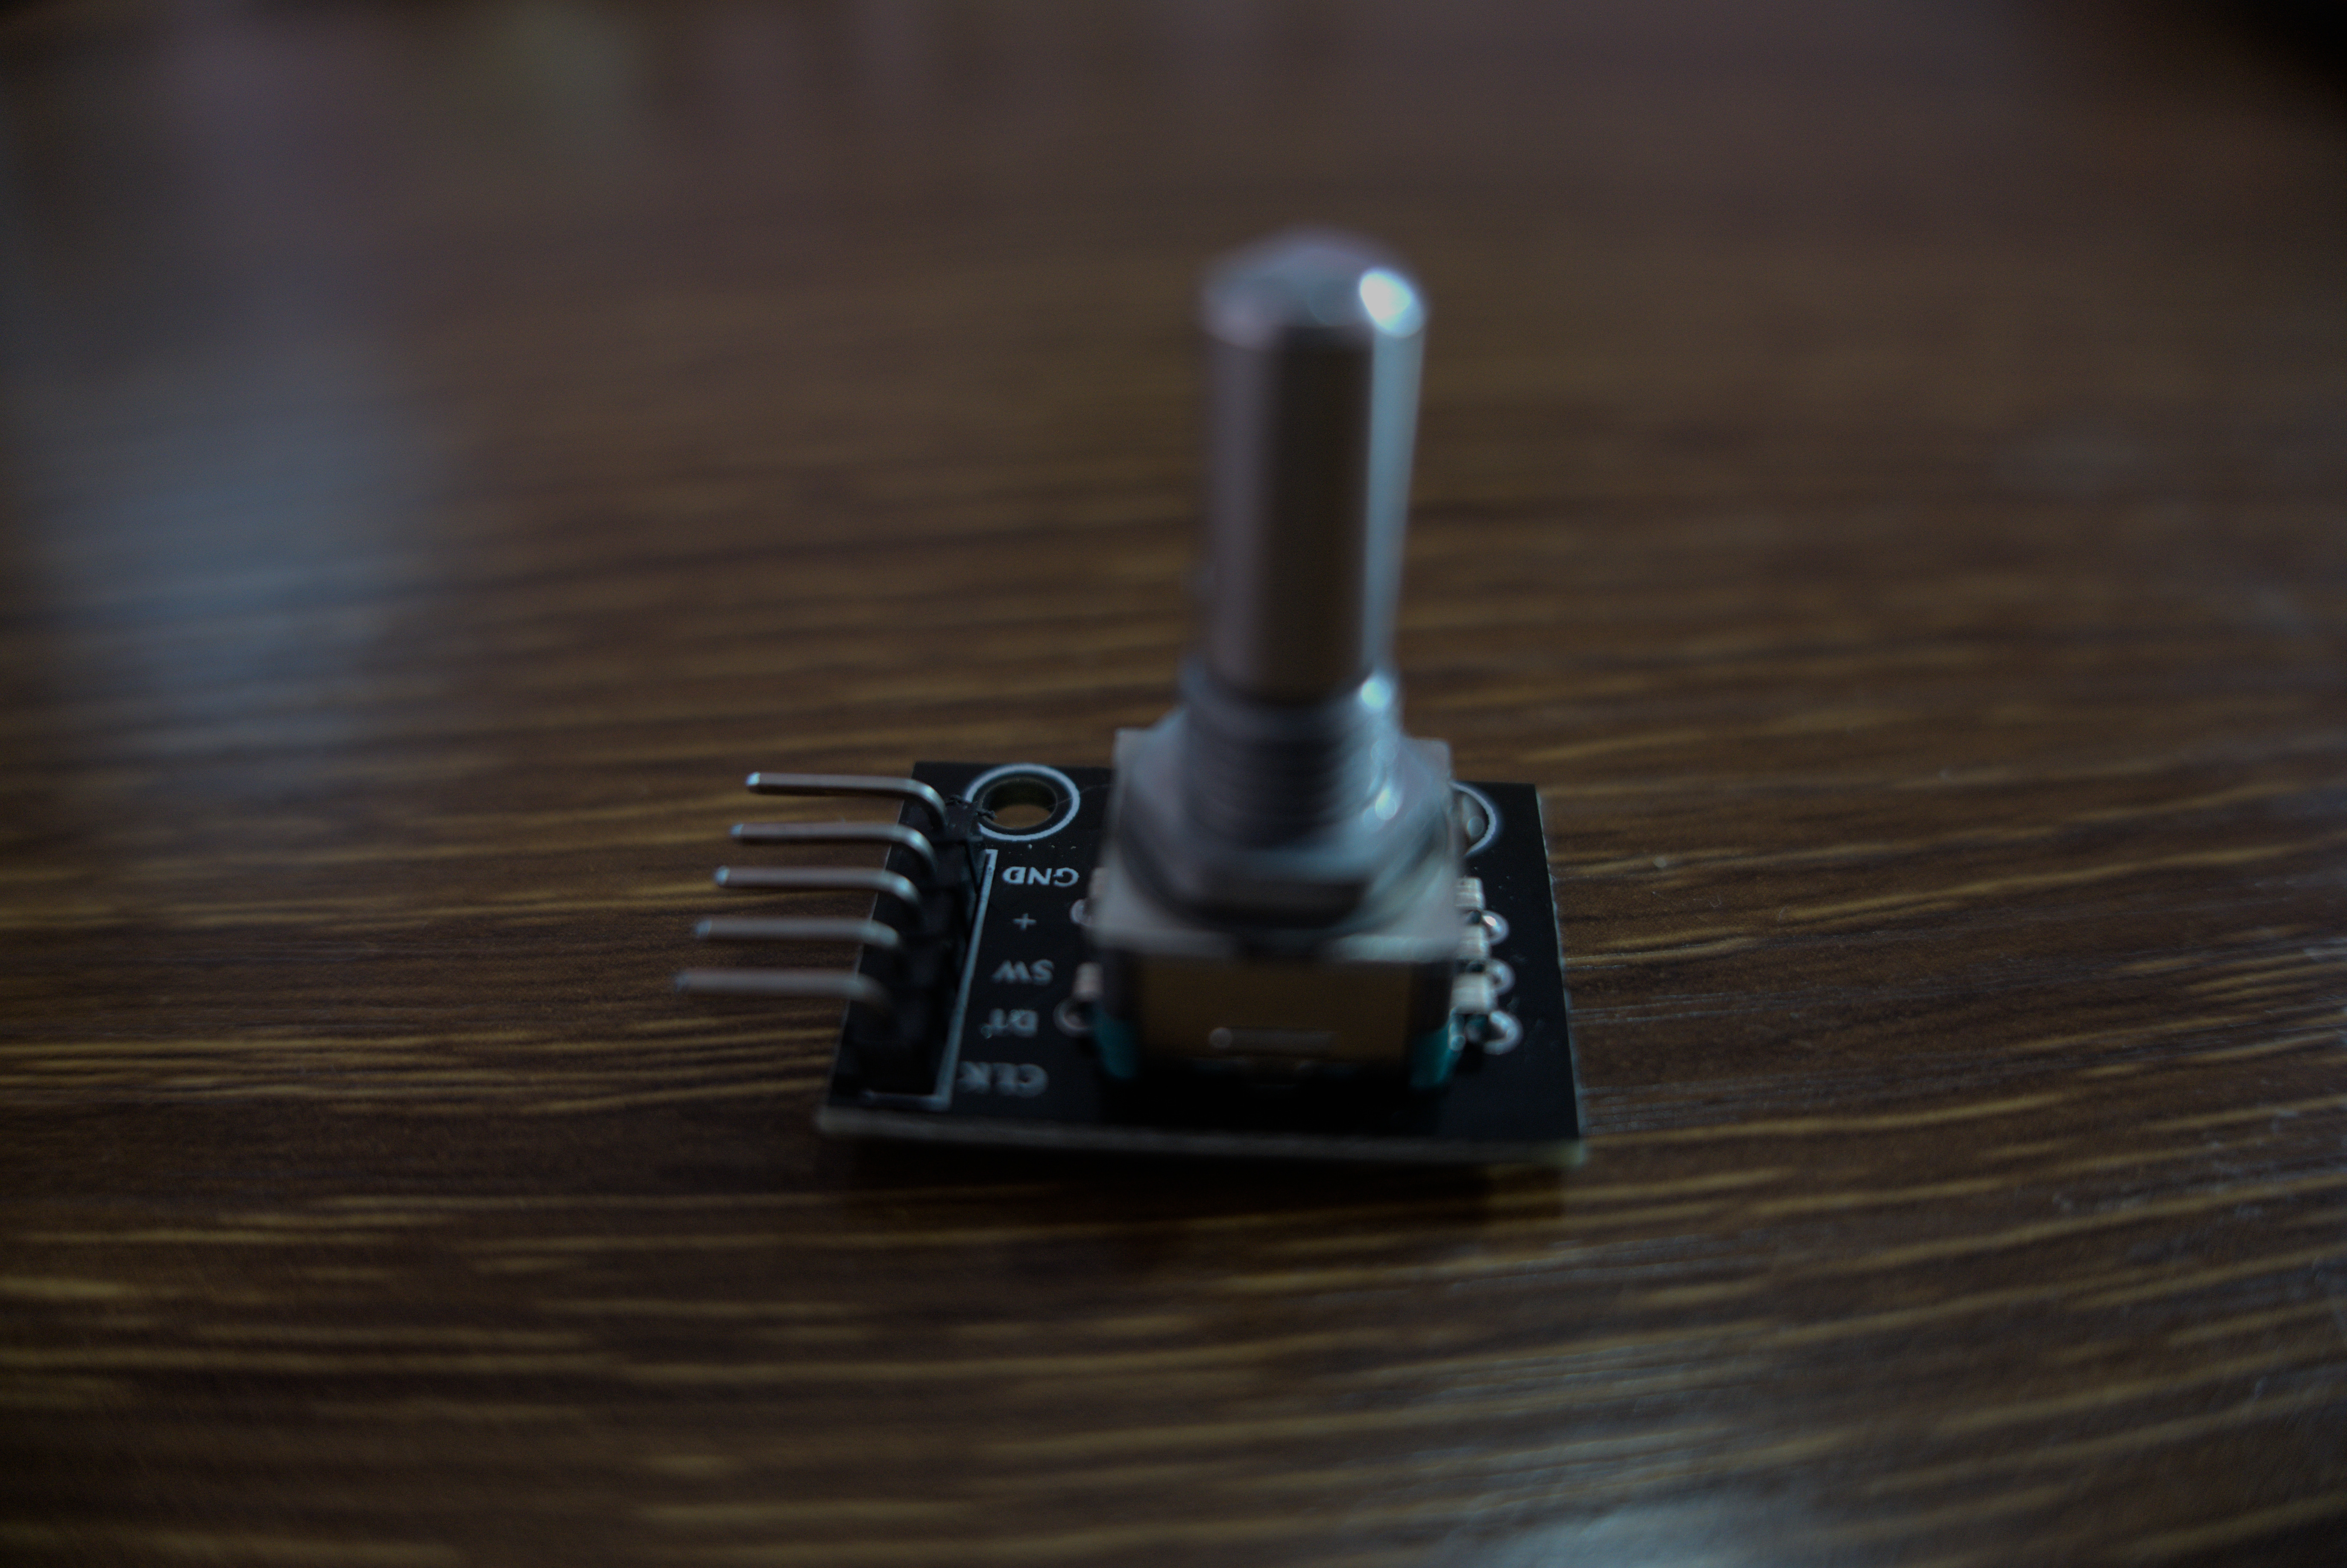 A tiny breadboard
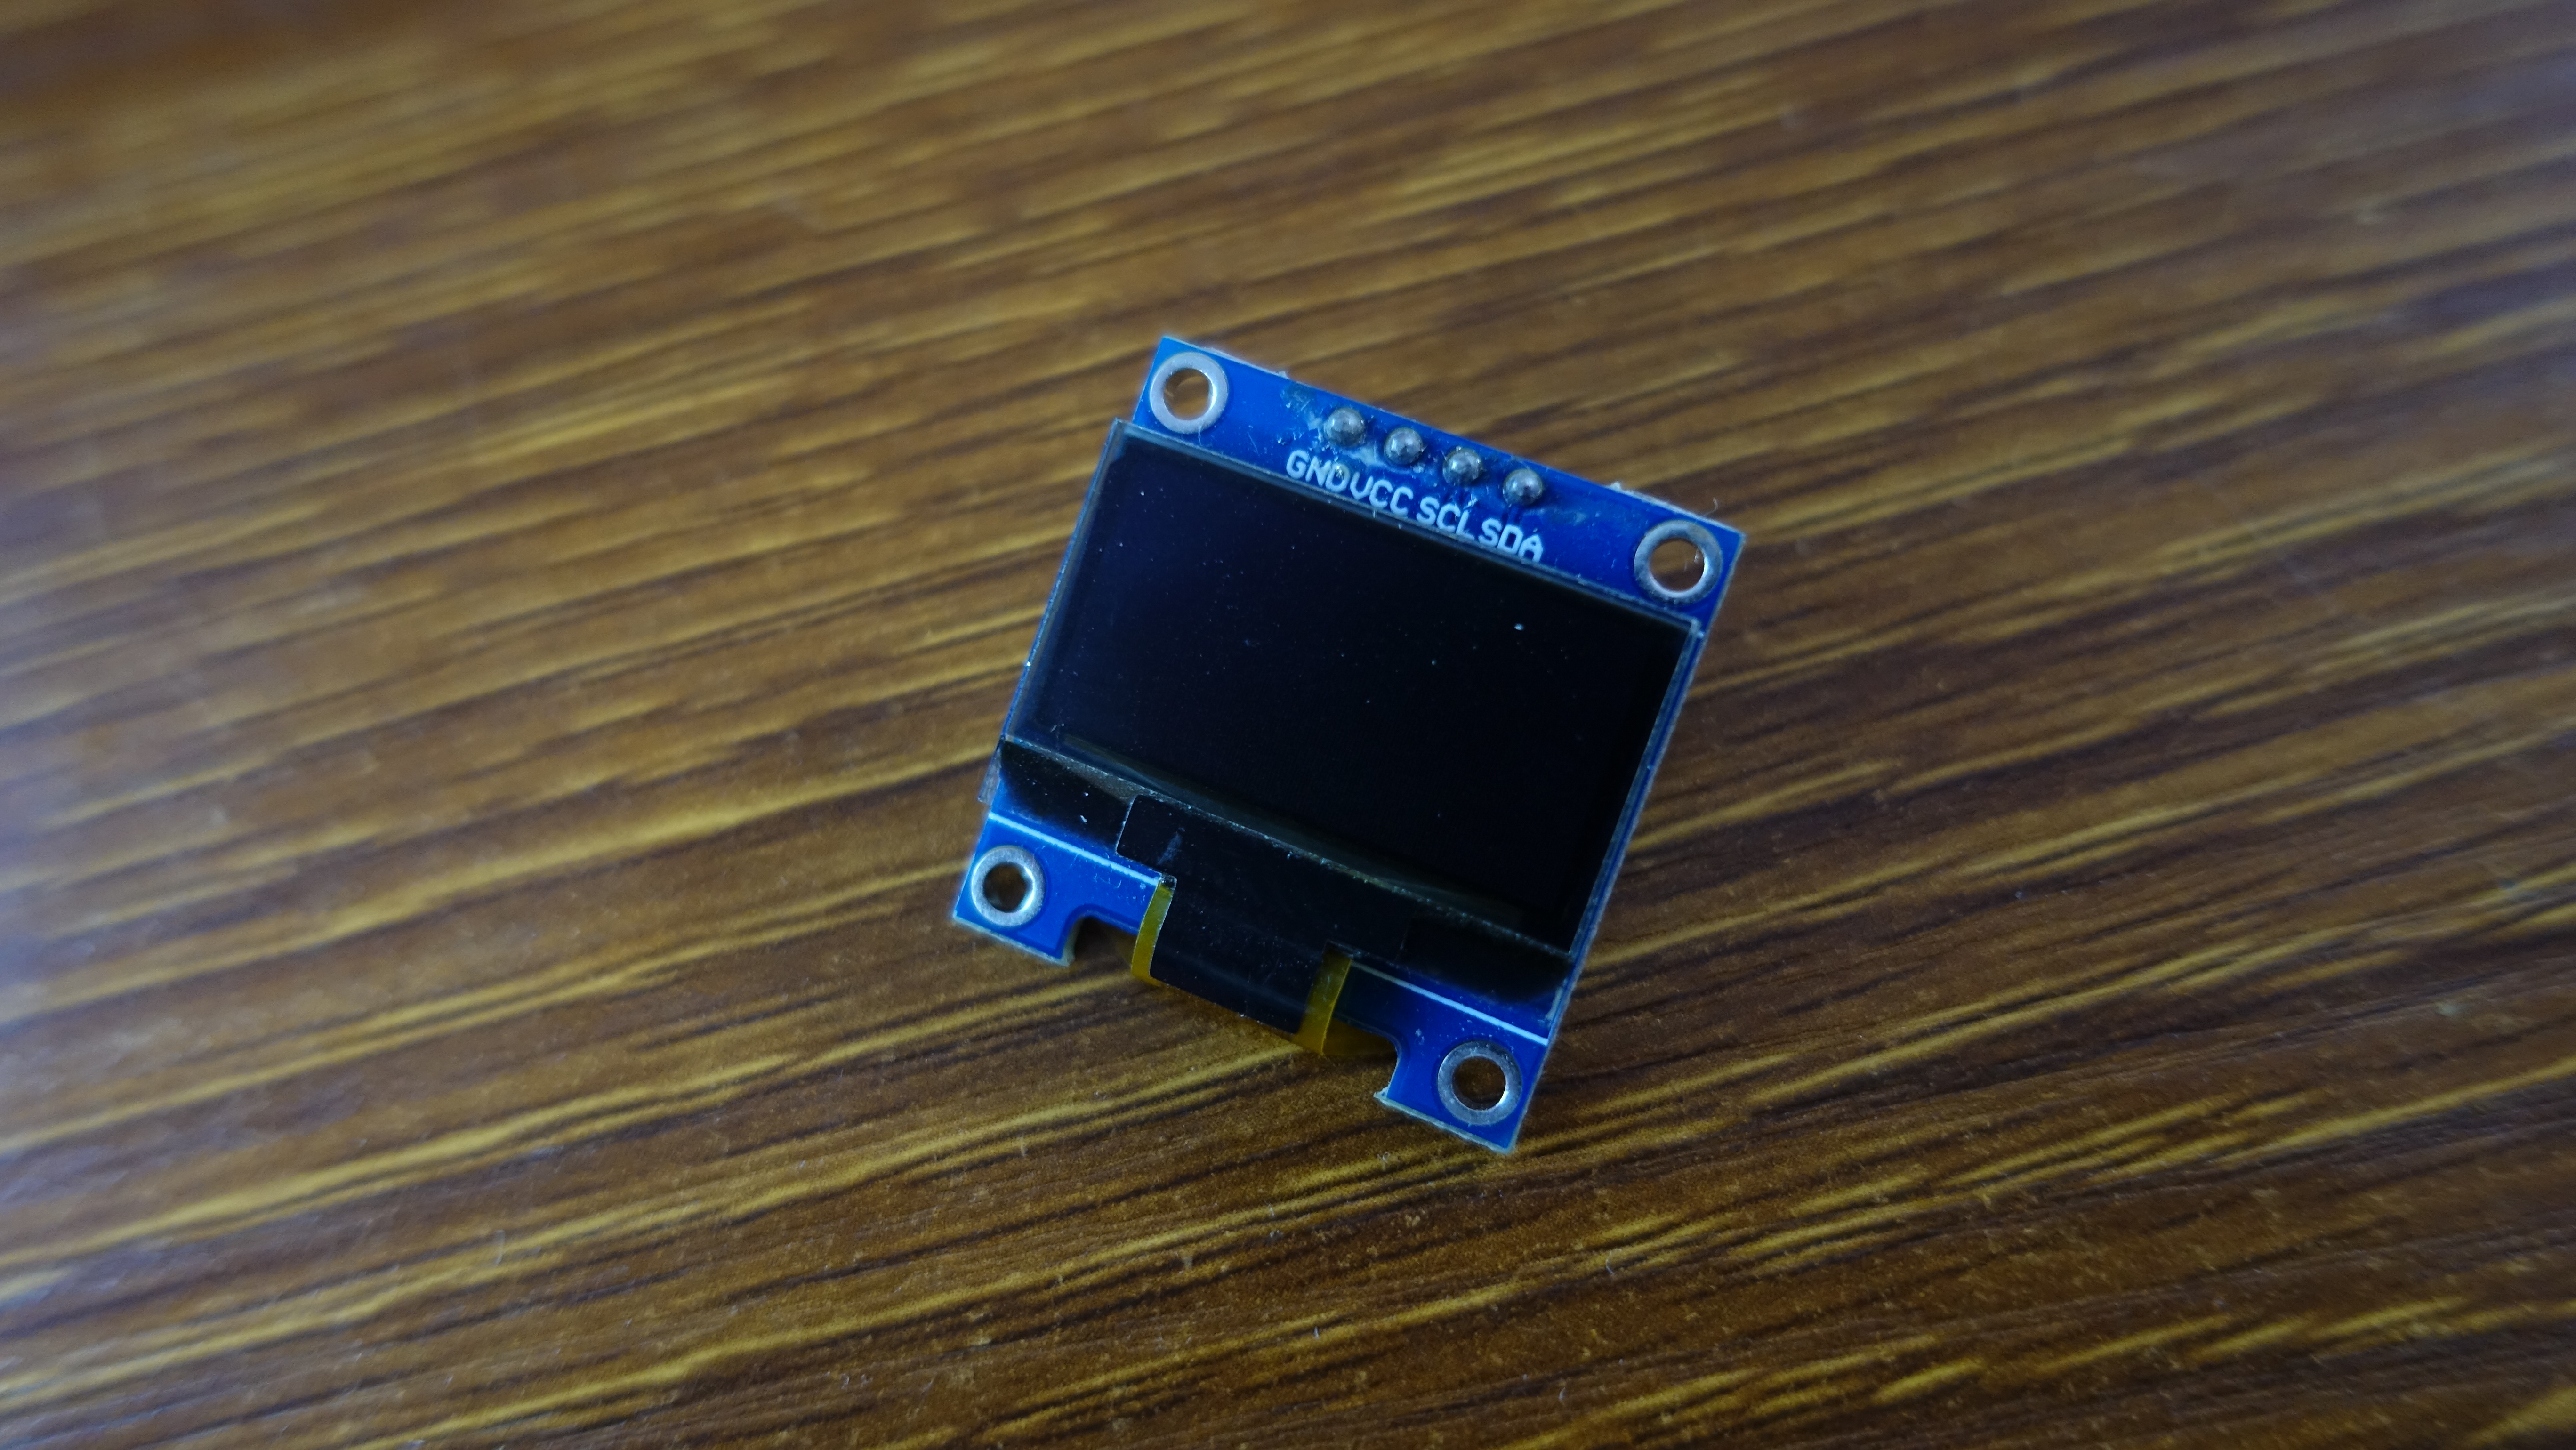
 OLED Display
 Rotary Encoder
A rotary encoder is a device that converts rotational motion into digital signals. It has a wide range of applications, including as a control knob for user interfaces, volume control, or navigating menus.
How Does It Work?Rotary encoders detect rotation direction and steps as they are turned. When rotated, the two output signals (CLK and DT) are either high or low, indicating the direction of rotation. The encoder also has a push-button switch (SW) for additional control inputs.
Pinout:- CLK: Clock signal
- DT: Data signal
- SW: Switch signal
- + (VCC): Power supply
- GND: Ground
- Rotary Encoder CLK pin to Arduino Uno R3 pin 2
- Rotary Encoder DT pin to Arduino Uno R3 pin 3
- Rotary Encoder SW pin to Arduino Uno R3 pin 4
- Rotary Encoder + pin to Arduino Uno R3 5V
- Rotary Encoder GND pin to Arduino Uno R3 GND
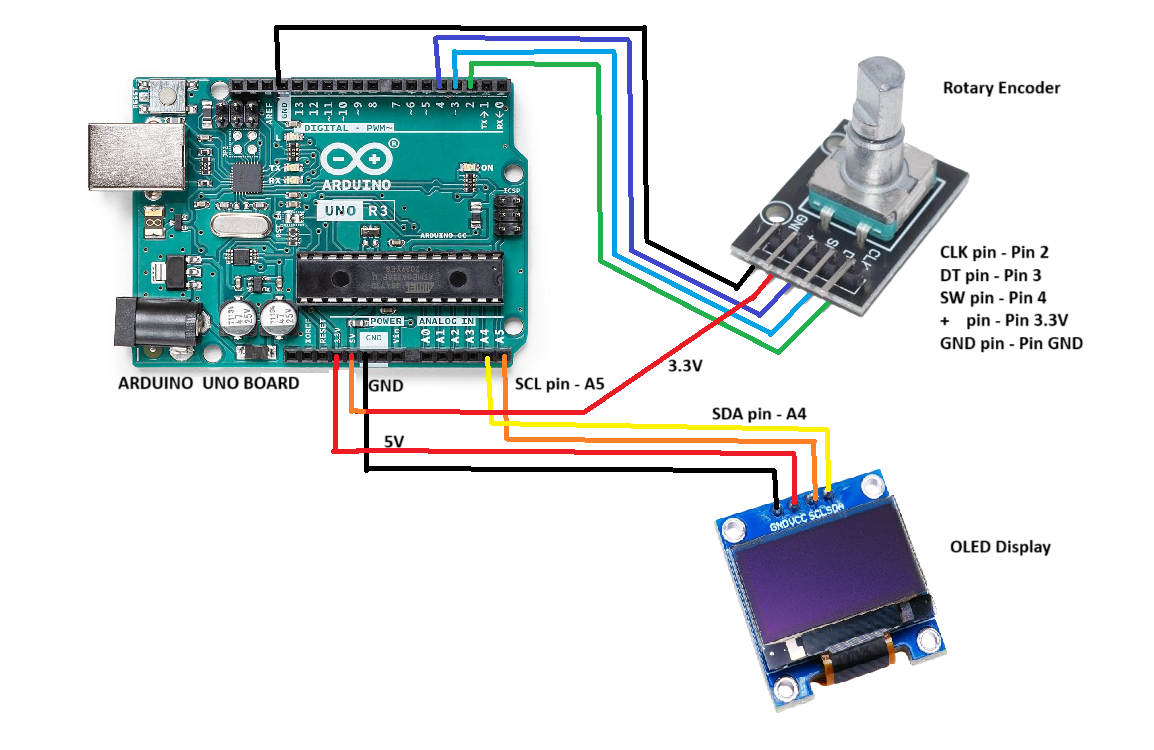 Code Breakdown:
Below is a detailed breakdown of the code, explaining each section to help you understand its functionality. The code uses the MUI (Menu User Interface) library to create a graphical menu system on the OLED display.
Libraries and Pin DefinitionsFirst include the necessary libraries and define the pins for the rotary encoder.
#include <Arduino.h>

#include <U8g2lib.h>

#include <MUIU8g2.h>

#include <Versatile_RotaryEncoder.h>


#define clk 2

#define dt 3

#define sw 4


Versatile_RotaryEncoder versatile_encoder(clk, dt, sw);

U8G2_SSD1306_128X64_NONAME_1_SW_I2C u8g2(U8G2_R0, /* clock=*/ SCL, /* data=*/ SDA, /* reset=*/ U8X8_PIN_NONE);
uint8_t num_value = 0;

uint8_t bar_value = 0;

uint16_t animal_idx = 0;


const char *animals[] = { "Bird", "Bison", "Cat", "Crow", "Dog", ... };
uint8_t show_my_data(mui_t *ui, uint8_t msg) {

    if (msg == MUIF_MSG_DRAW) {

        u8g2.setCursor(5, mui_get_y(ui));

        u8g2.print("Num: "); u8g2.print(num_value);

        u8g2.setCursor(5, mui_get_y(ui) + 12);

        u8g2.print("Bar: "); u8g2.print(bar_value);

        u8g2.setCursor(5, mui_get_y(ui) + 24);

        u8g2.print("Animal: "); u8g2.print(animals[animal_idx]);

    }

    return 0;

}
We define multiple forms that show different menus on the OLED display. The user can switch between these forms using the rotary encoder.
MUI_FORM(1)

MUI_LABEL(5, 8, "Rotary Encoder Control")

MUI_LABEL(5, 23, "Enter Data")

MUI_LABEL(5, 36, "Show Data")


MUI_FORM(10)

MUI_LABEL(5, 8, "Enter Data")

MUI_LABEL(5, 23, "Num:")

MUI_LABEL(5, 36, "Bar:")
Functions that handle the rotary encoder's rotation and button presses.
void handleRotate(int8_t rotation) {

    if (rotation > 0) rotate_event = 2;

    else rotate_event = 1;

}


void handlePressRelease() {

    press_event = 1;

}
The main loop() function checks if the user is interacting with the menu, updates the display, and processes rotary encoder inputs.
void loop() {

    if (mui.isFormActive()) {

        if (is_redraw) {

            u8g2.firstPage();

            do {

                versatile_encoder.ReadEncoder();

                mui.draw();

                versatile_encoder.ReadEncoder();

            } while (u8g2.nextPage());

            is_redraw = 0;

        }

        versatile_encoder.ReadEncoder();

        handle_events();

    }

}
Below is the complete code for this project. You can copy it directly to your Arduino IDE and upload it to your Arduino Uno R3.
#include <Arduino.h>

#include <U8g2lib.h>

#include <MUIU8g2.h>

#include <Versatile_RotaryEncoder.h>


#define clk 2

#define dt 3

#define sw 4


Versatile_RotaryEncoder versatile_encoder(clk, dt, sw);

U8G2_SSD1306_128X64_NONAME_1_SW_I2C u8g2(U8G2_R0, SCL, SDA, U8X8_PIN_NONE);


uint8_t num_value = 0;

uint8_t bar_value = 0;

uint16_t animal_idx = 0;

const char *animals[] = { "Bird", "Bison", "Cat", "Crow", "Dog", ... };


// Other code and functions go here...


void setup() {

   versatile_encoder.setHandleRotate(handleRotate);

   versatile_encoder.setHandlePressRelease(handlePressRelease);

   u8g2.begin();

   mui.begin(u8g2, fds_data, muif_list, sizeof(muif_list)/sizeof(muif_t));

   mui.gotoForm(1, 0);

}


void loop() {

   if (mui.isFormActive()) {

       if (is_redraw) {

           u8g2.firstPage();

           do {

               versatile_encoder.ReadEncoder();

               mui.draw();

           } while (u8g2.nextPage());

           is_redraw = 0;

       }

       versatile_encoder.ReadEncoder();

       handle_events();

   }

}
When the rotary encoder is rotated, the menu on the OLED display changes values. You can switch between fields using short presses and long presses of the encoder switch.
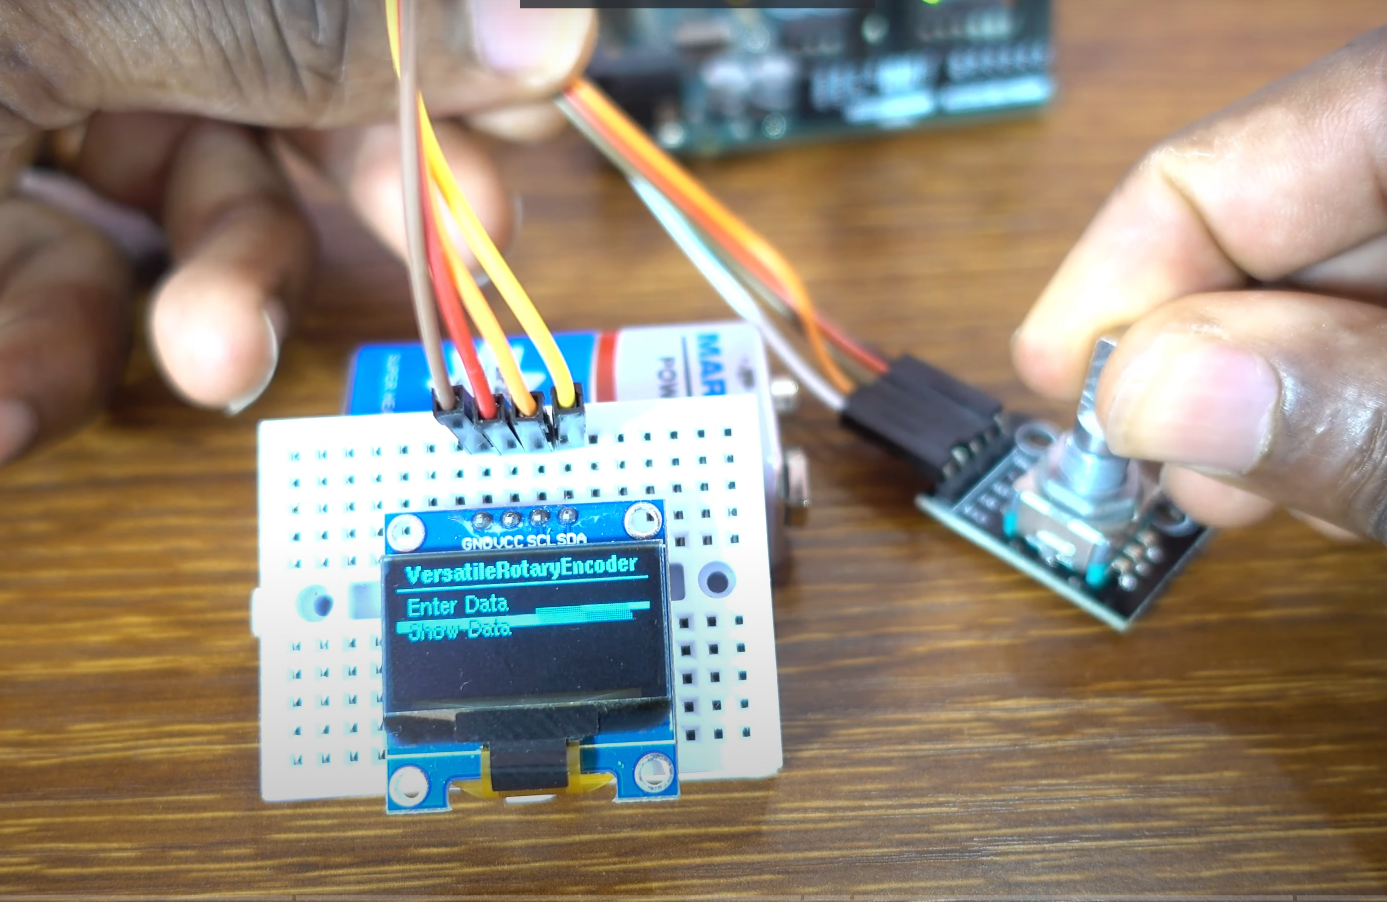 Conclusion
This project demonstrates how to use a rotary encoder to control a user interface on an OLED display with the Arduino Uno R3. It provides an interactive way to adjust values, navigate through menus, and view real-time feedback.

 Mastering Electronics Projects